Step 1:Open theControl Paneland selectNetwork and Internet.
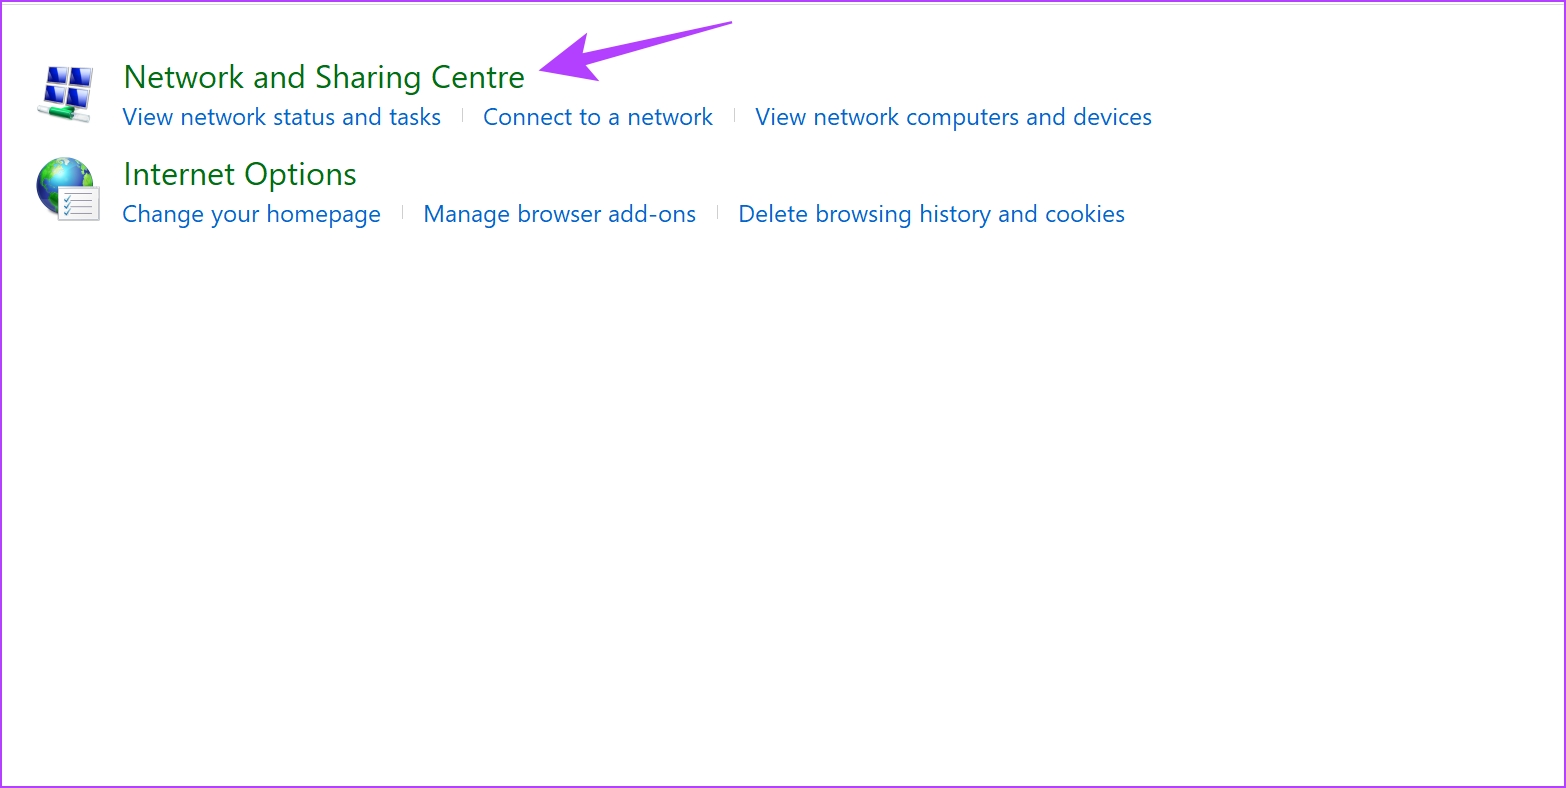
Step 2:OpenNetwork and Sharing Center.
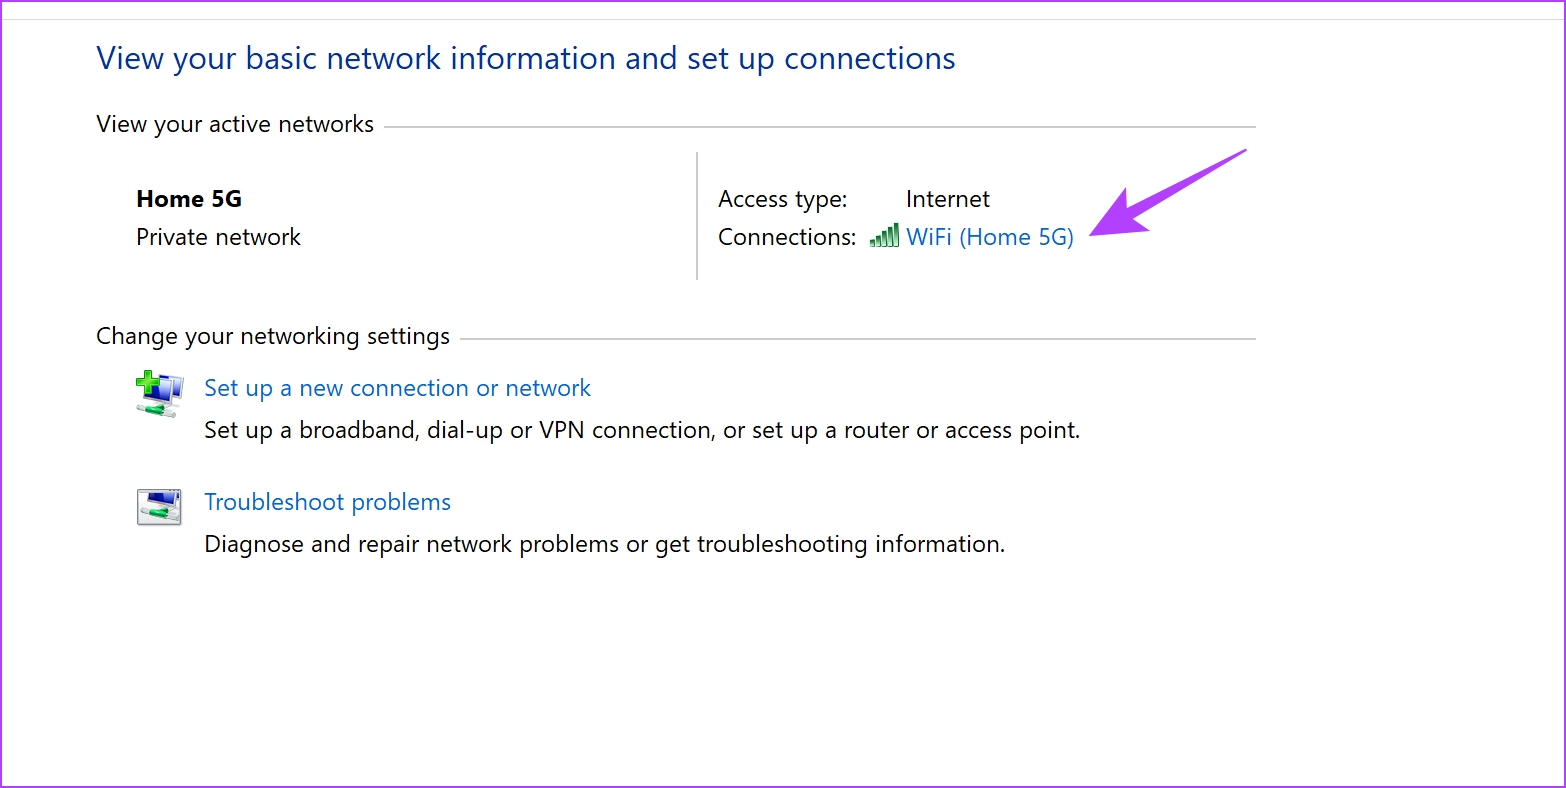
Step 3:Select your online grid.

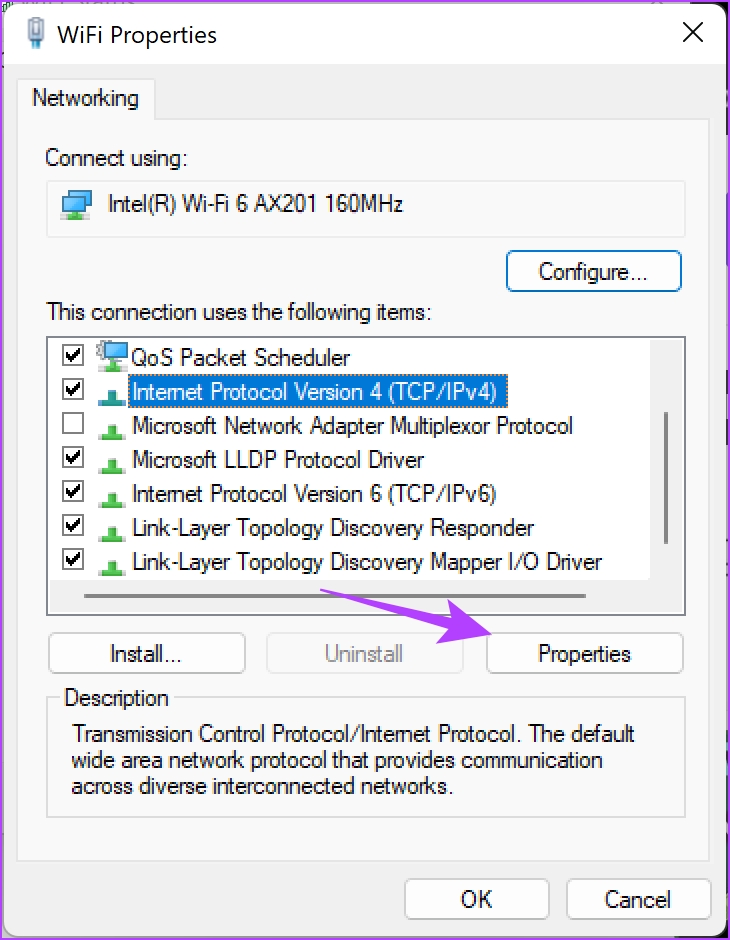
Step 4:Now, selectProperties.
Step 5:Check the box next toInternet Protocol Verisonand click onProperties.
Step 6:Check the box forUse the following DNS server addressesto enter the DNS server address manually.
Step 7:Now, enter the address8.8.8.8in the Preferred DNS server box and8.8.4.4in the Alternative DNS server box.
These are the addresses for the Google DNS server IPv4.
Step 8: Lastly, click onOKto apply the changes.
Also Read:5 best DNS servers for gaming for low ping in 2024.
Step 1:tap on theApple logoicon in the toolbar and selectSystem tweaks.
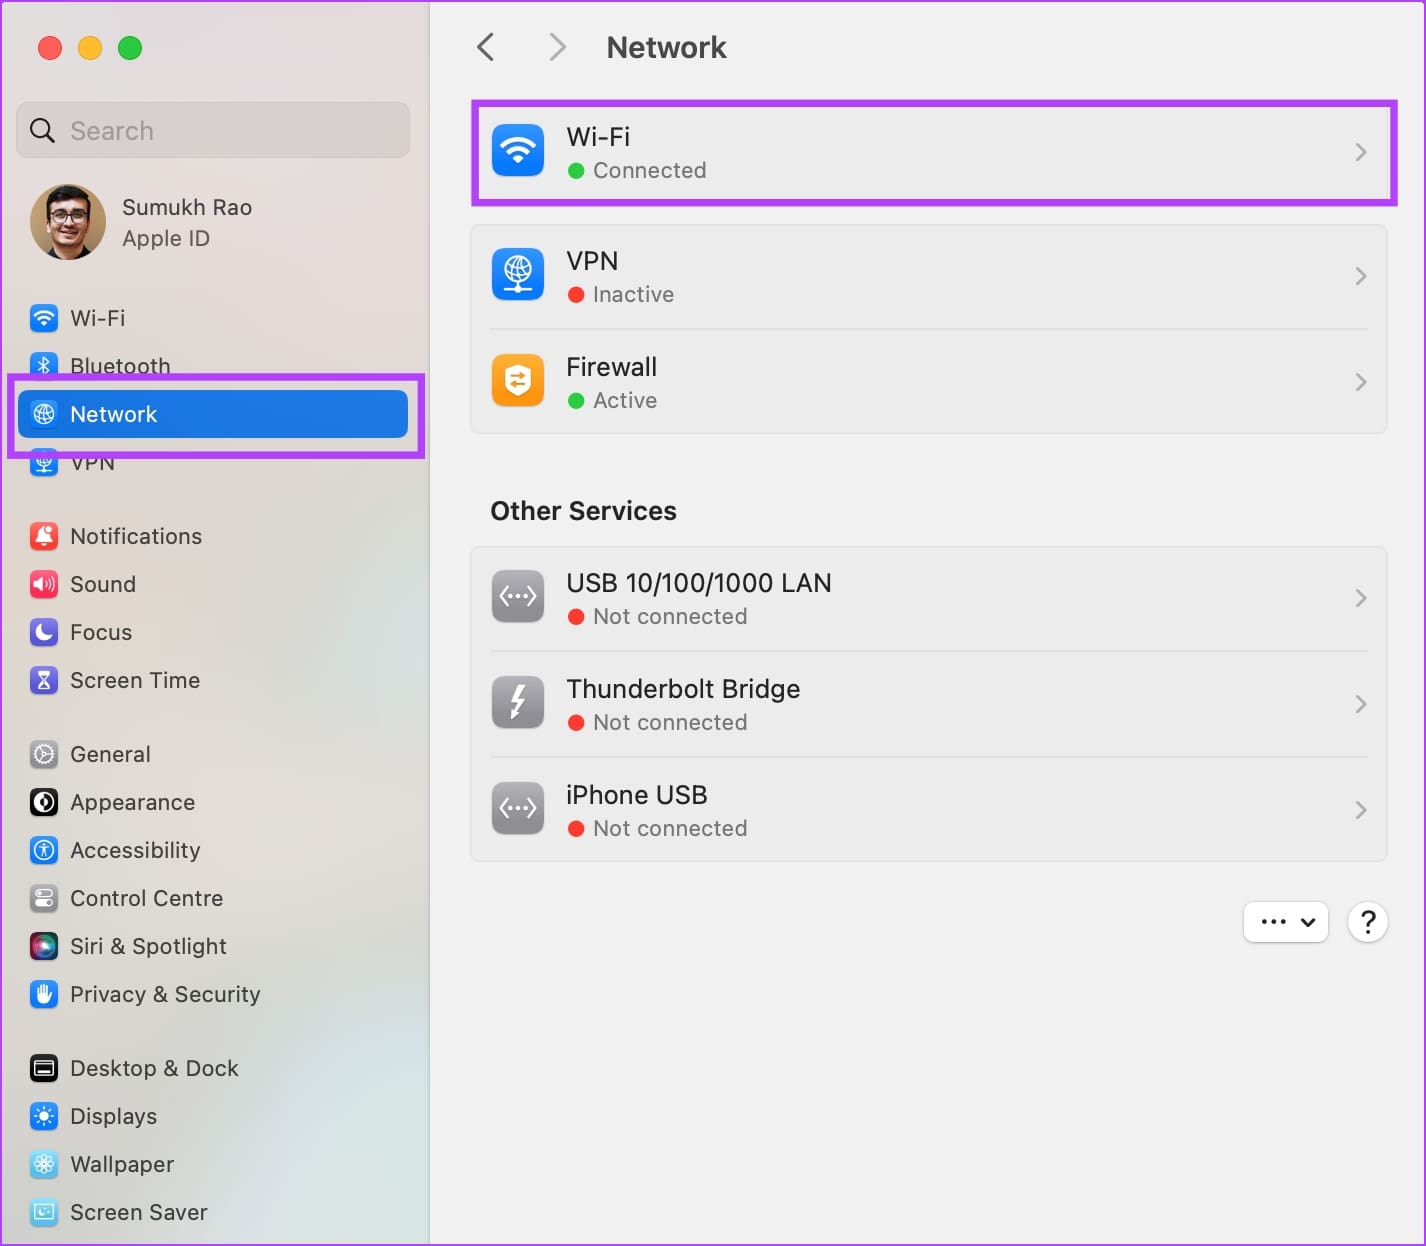
Step 2:SelectNetworkin the sidebar and selectWi-Fi.

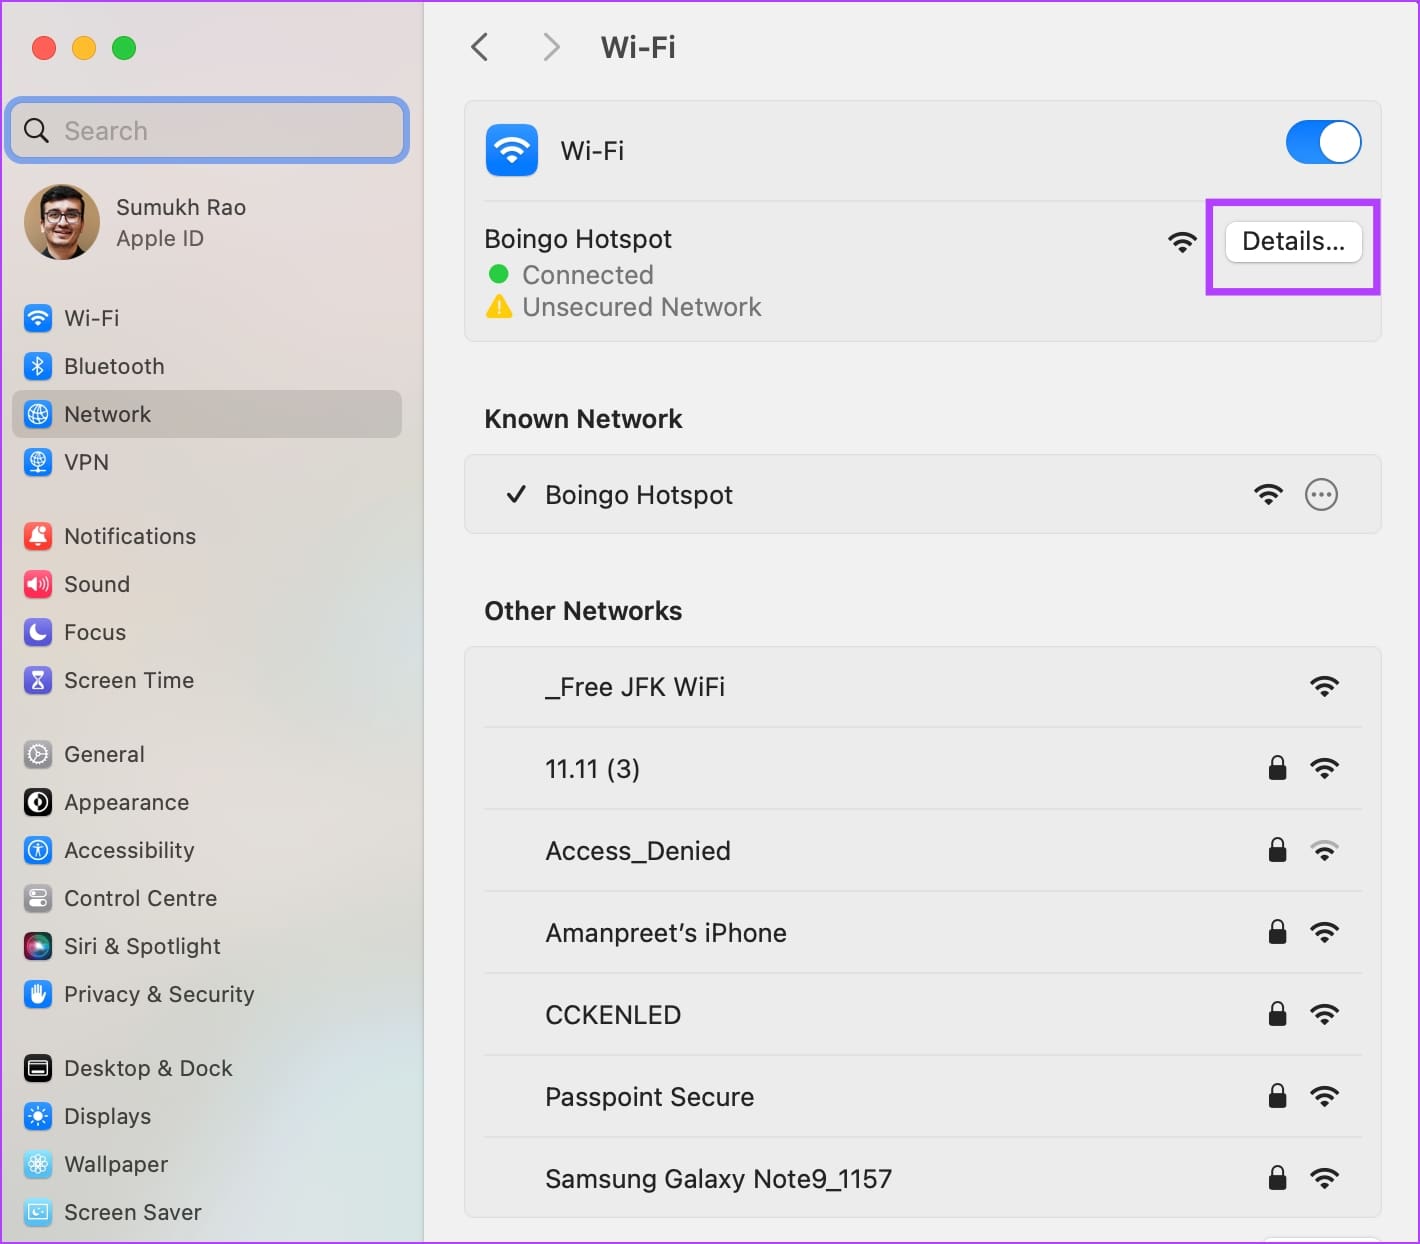
Step 3:Tap onDetailsnext to the connectedWi-Finetwork.
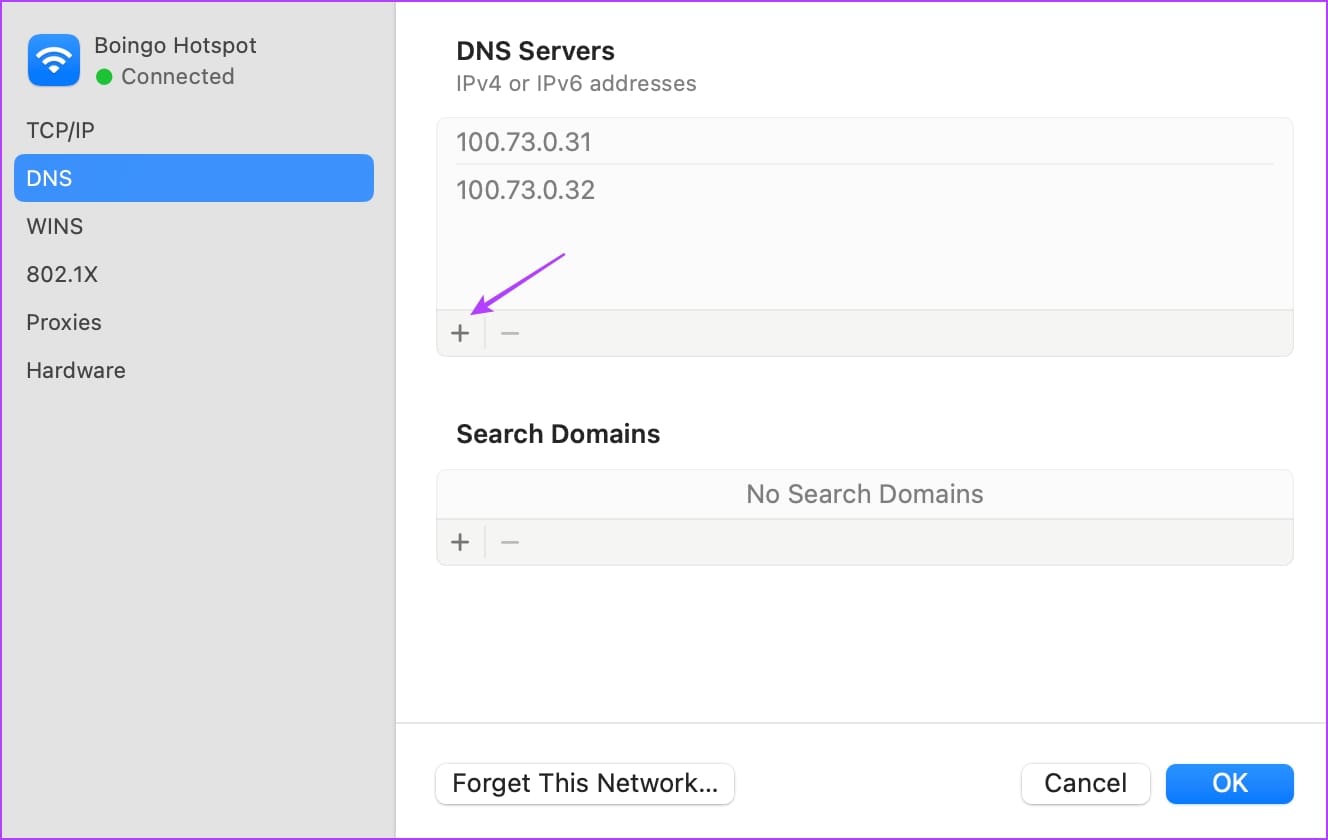
Step 4:Click onDNSin the sidebar.
Step 5:hit the+icon in the DNS server box.

Step 6:Now, enter the address8.8.8.8or8.8.4.4.
These are the addresses for the Google DNS server IPv4.
Also Read:How to flush DNS cache on Windows.
Was this helpful?
The content remains unbiased and authentic and will never affect our editorial integrity.