it’s possible for you to also record audio in Lossless format to get the best quality.
Step 1:Open theVoice Memoson your Mac.
Step 2:AllowMicrophonepermissions to the app if the popup appears on your screen.
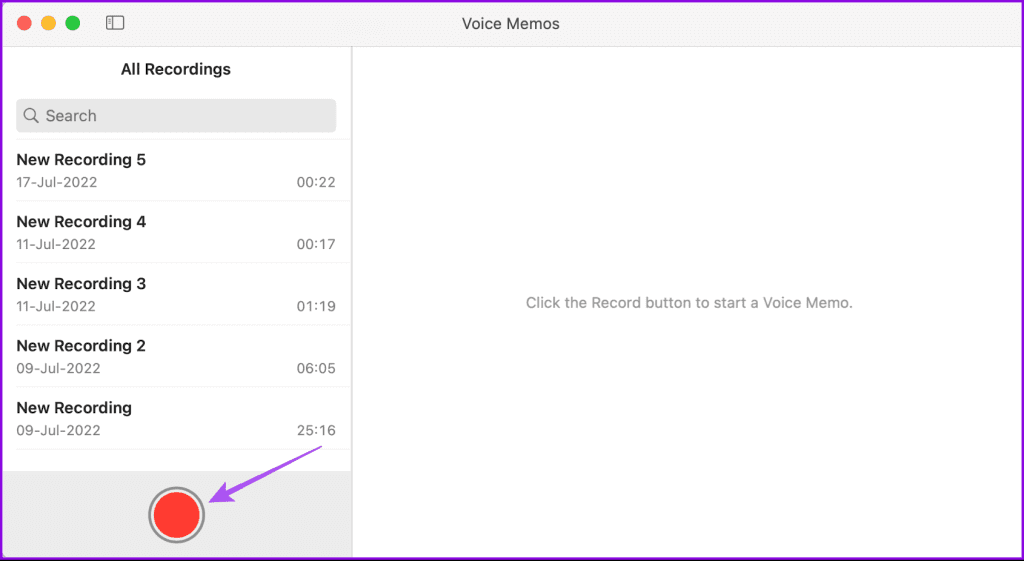
Step 3:Click theRecordicon at the bottom-left corner to start recording.
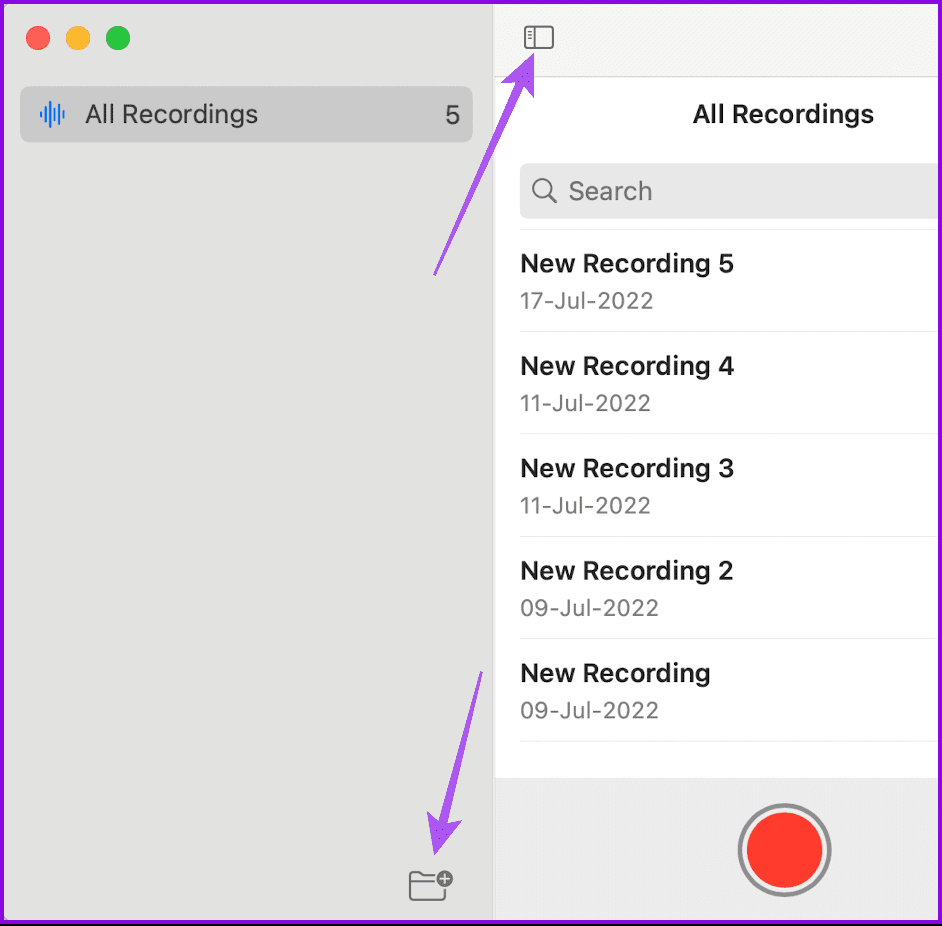
you’re free to even create a folder for your recordings by selecting theNew Folderoption in the sidebar.
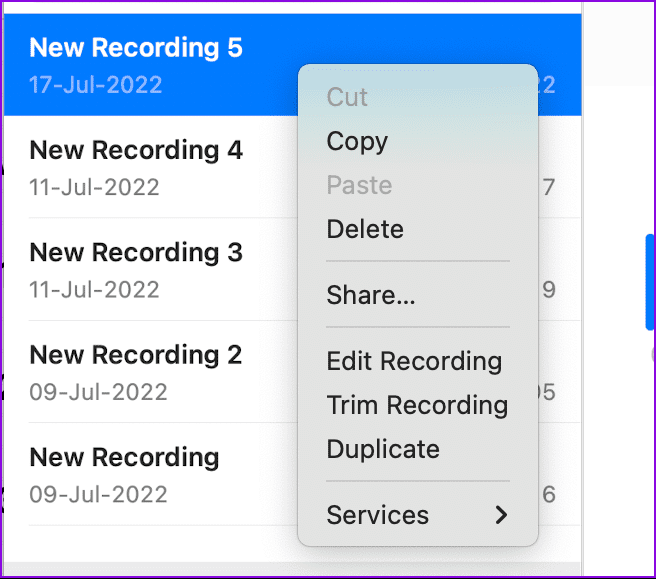
Step 3:after you grab finished recording your audio, right-choose itsfile nameto get more options.
you’ve got the option to choose toshare your file, edit, or trimthe recording.
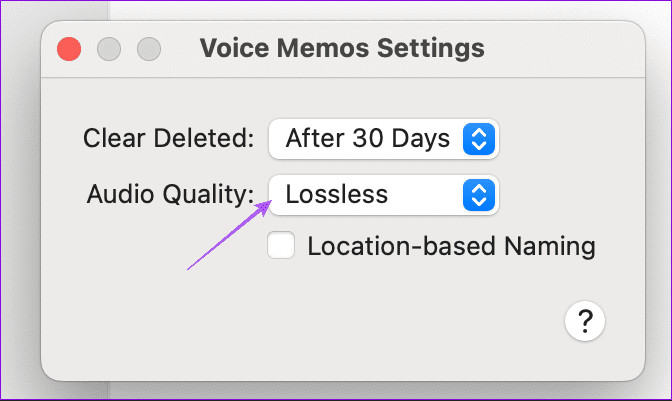
Step 2:In Audio Quality, selectLossless.
you might also enableLocation-based Namingfor your audio recordings.
The QuickTime Player helps you record both audio and your Macs screen.
Heres how you’re free to fire up the QuickTime Player to record audio on your Mac.
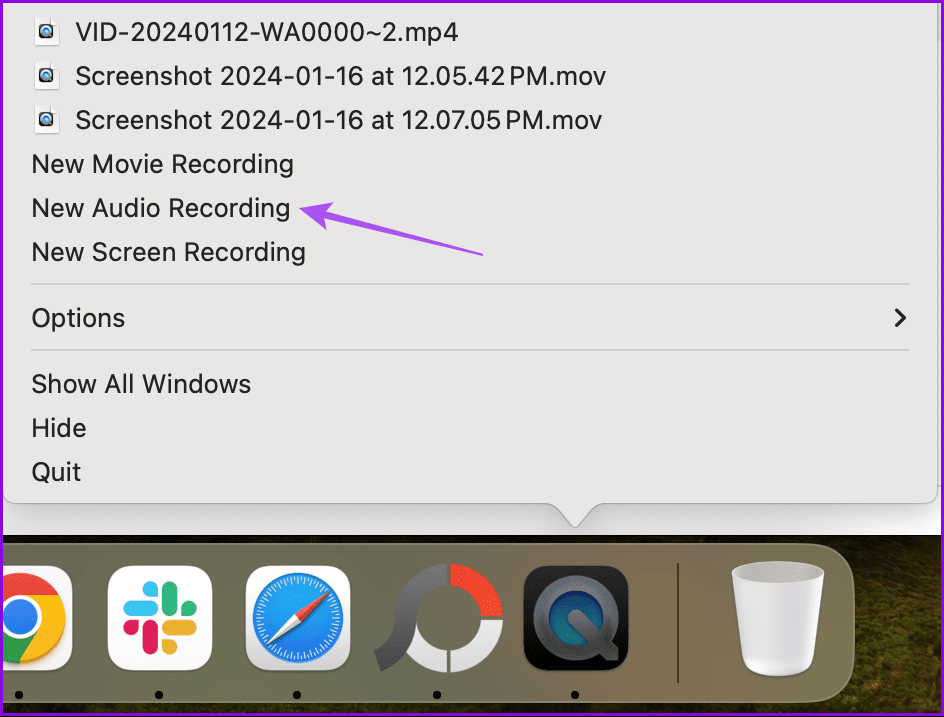
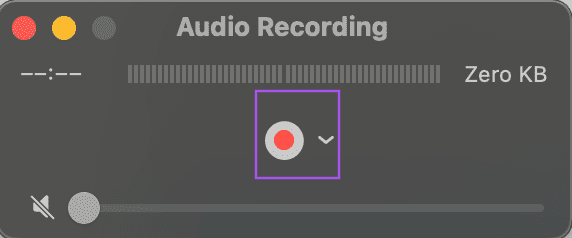
Step 1:OpenQuickTime Player> right-click theapp icon on the Dock> selectNew Audio Recording.
Step 2:Click theRecordicon to start recording.
you’ve got the option to also click thedropdown iconand then choose your mic for recording the audio.
Your Macs built-in mic isselected by default.
Step 3:Once done, stop the recording and then kill the recorder window.
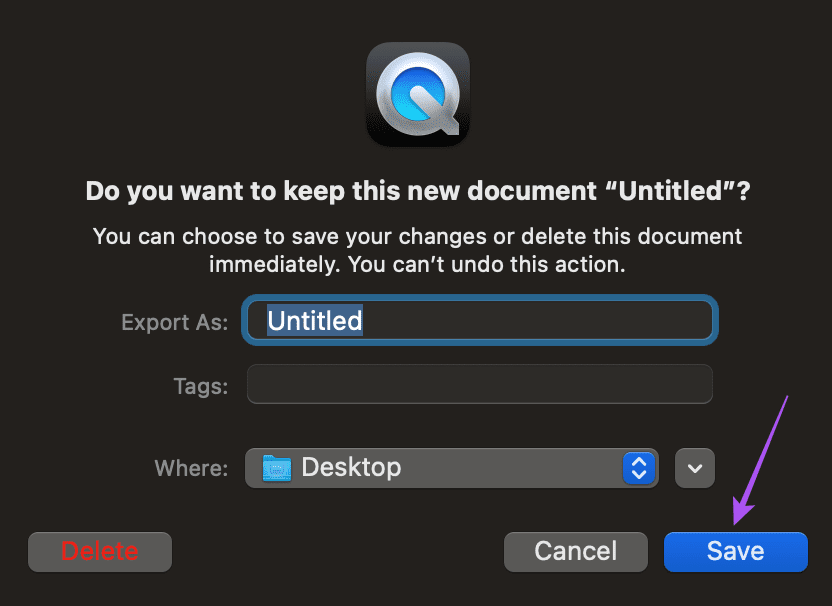
Step 4:Enter thename of your recorded file> choose the file location > click onSave.
Method 3: Record Audio Using GarageBand
The next pre-installed app is GarageBand.
This utility is an old wine, albeit in a new bottle, thanks to software updates.
Heres how you could use GarageBand to record and secure your audio.
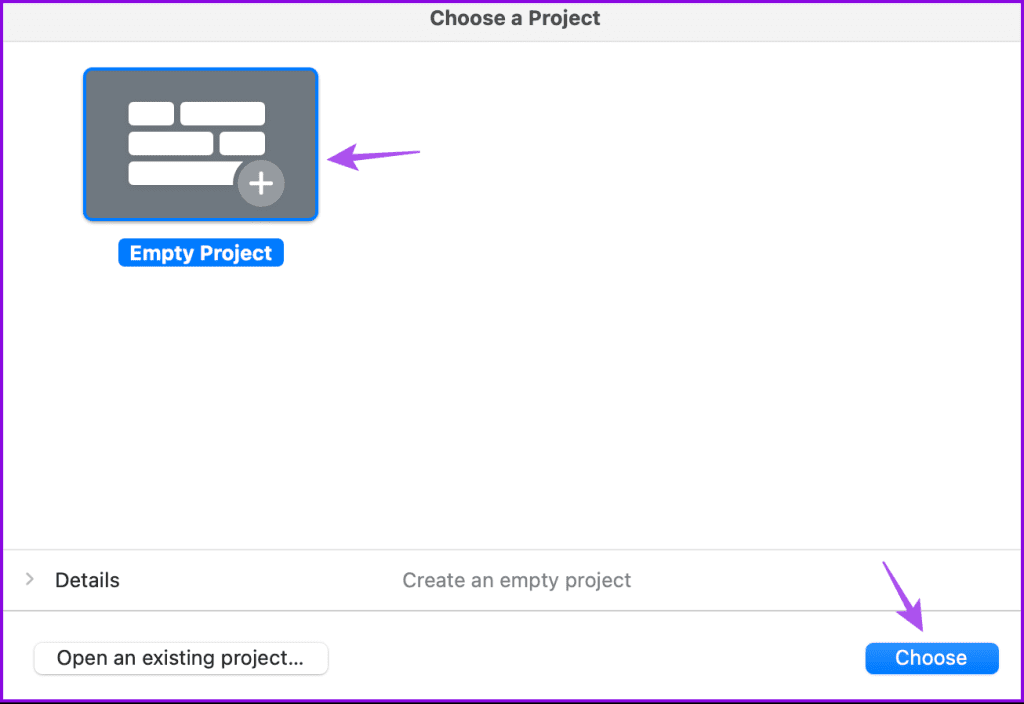
Step 1:OpenGarageBand> selectEmpty Project> click onChoose.
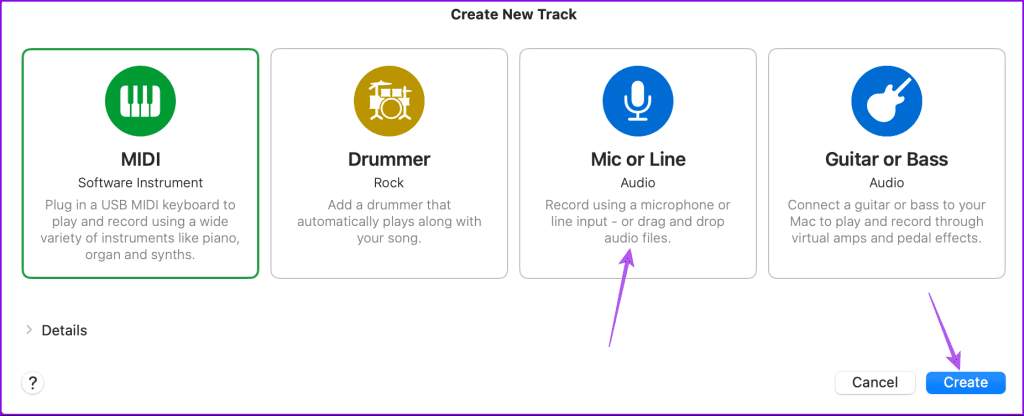
Step 2:SelectMic or Link> click onCreate.
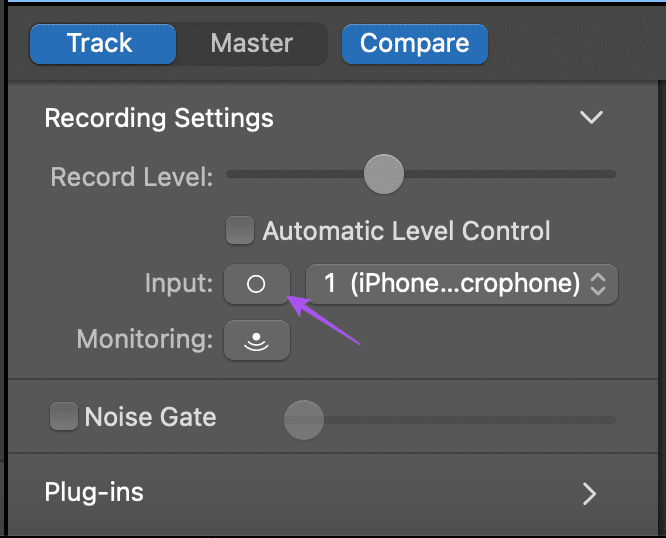
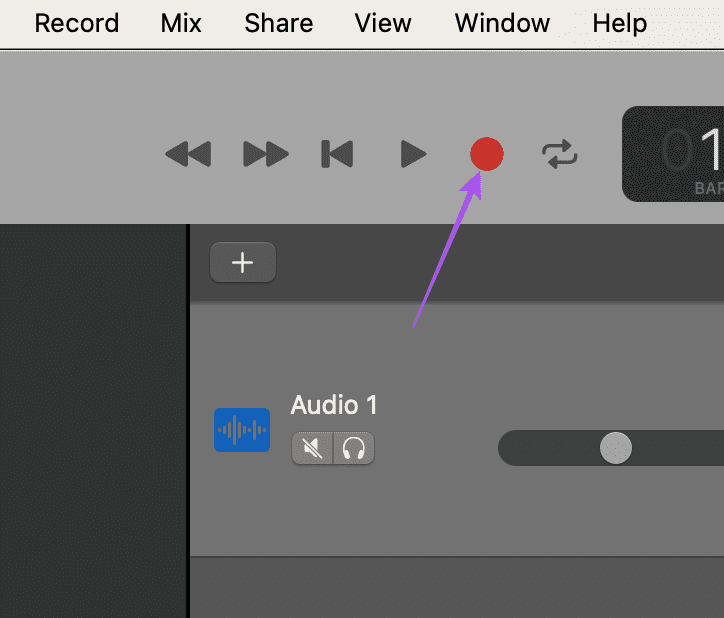
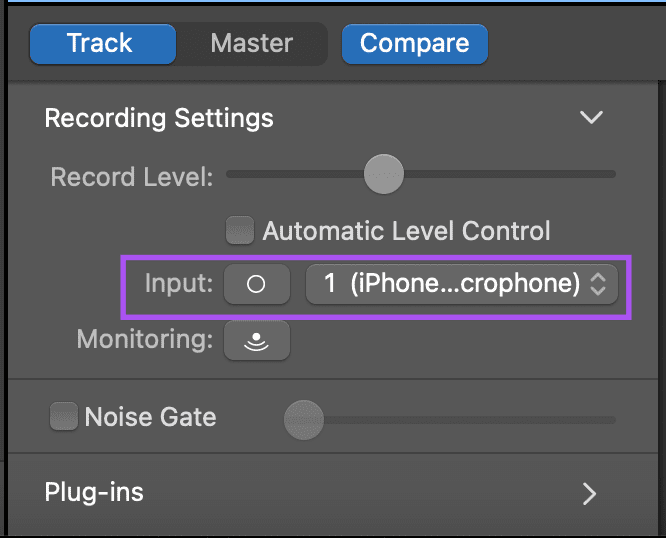
Step 3:Click onInputat the bottom and then select yourinput mic.
you might click theCircle iconnext to Input to switch between mono and stereo recording.
The single circle is mono and two circles mean stereo.
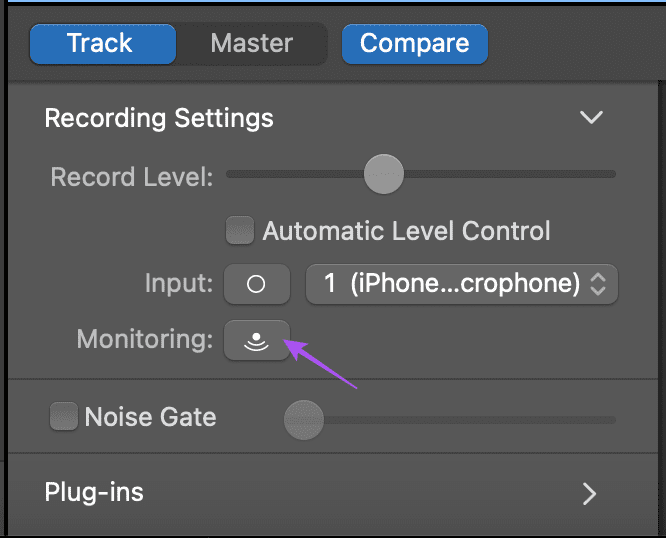
If you are using headphones, you’re able to enable theMonitoring option.
This will allow you to listen to your voice while recording.
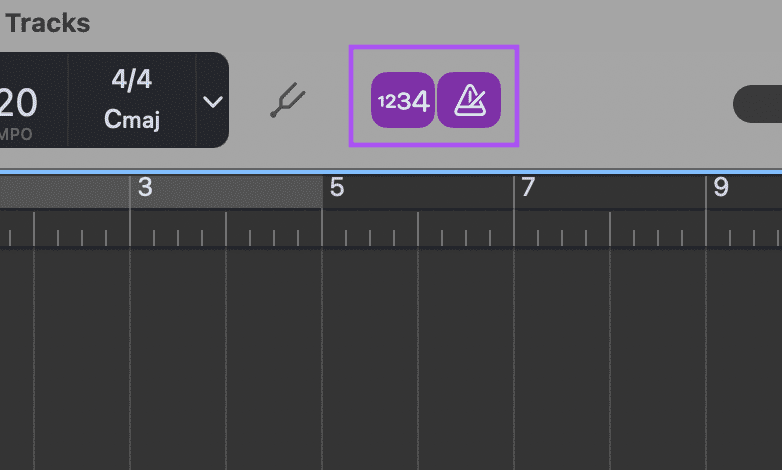
Step 4:Disable theMetronome optionsto remove beats from the background.
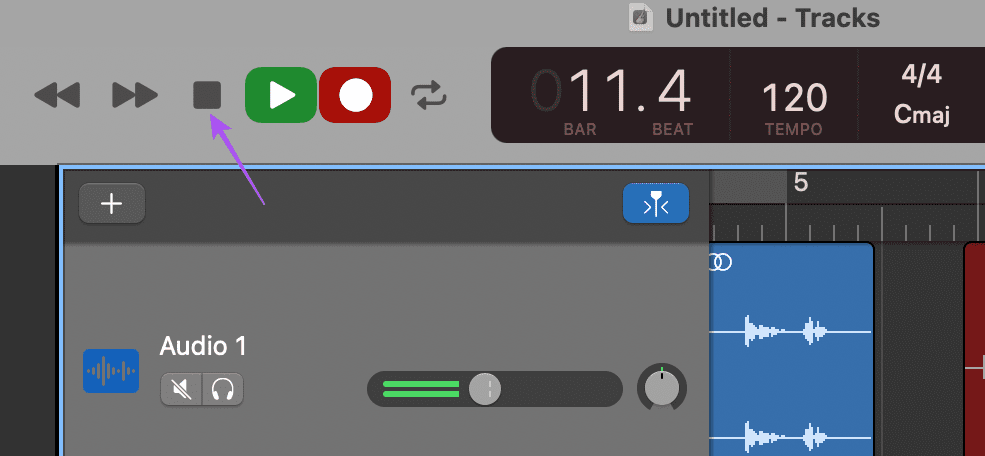
Step 5:Once you see the mic audio levels, click theRecordicon to start.
Step 6:After finishing the recording, click thePauseicon to stop.
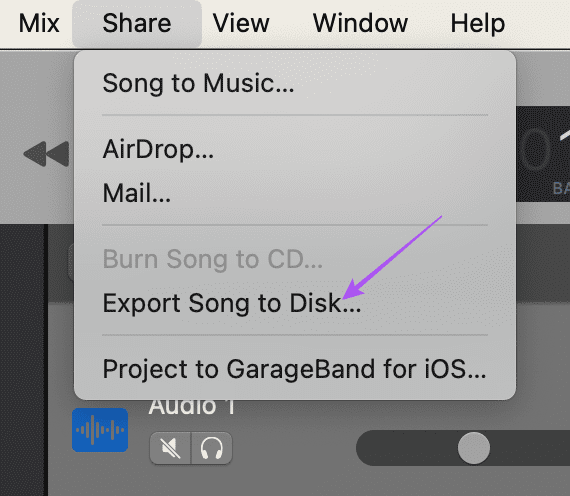
Step 7:Click theSharebutton at the top Menu Bar and selectExport Song to Disk.
Step 8:Enter thename of your file> choose theaudio format> clickExportto save the file.
Was this helpful?
The content remains unbiased and authentic and will never affect our editorial integrity.