Got a new graphics card but dont know how to install it?
Weve got you covered.
However, you should always check to ensure your power supply can provide enough power to your new GPU.
If you have a particularly low powered power supply, you may run into some problems.
Before we get into how to use that, you better check the watts your power supply actually has.
If you already know your power supply capacity, you might skip this and move to the calculator below.
Finding Out Your Power Supply Watts
Switch off your PC.
Take the screws off the side panel of your PC and then slide the side panel off.
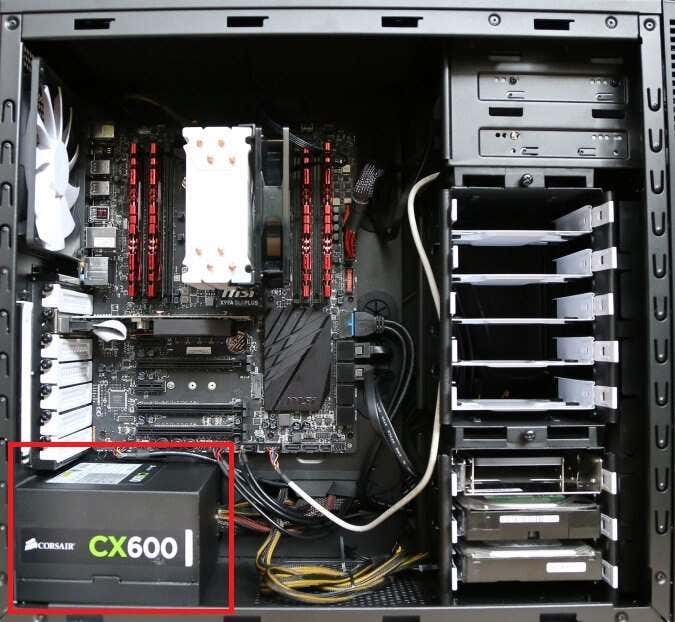
You should be greeted with something that looks a little like this.
The area highlighted in red is the power supply.
There will be a label on this that tells you theWattageof your power supply.
Make note of this.
Calculating your Power Supply Usage
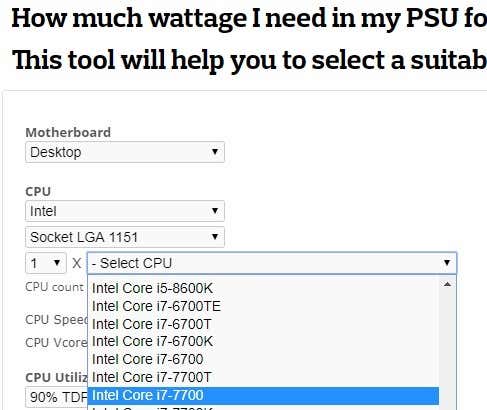
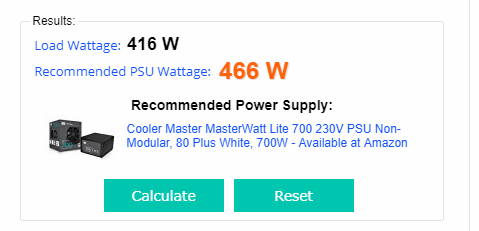
Next, visit theCooler Master Power Supply Calculator.
you oughta input all of your hardware details, including fans.
you’ve got the option to use the dropdown boxes to choose your hardware.
Other hardware like hard drives and fans can be assessed visually by looking at the inside of your PC.
In most cases, a 500, 600, or 750 watt power supply should be suffice.
Wed advise reading it anyway so that you might familiarize yourself with your PC.
First switch off your PC.
Next, slide initiate the side panel on your PC.
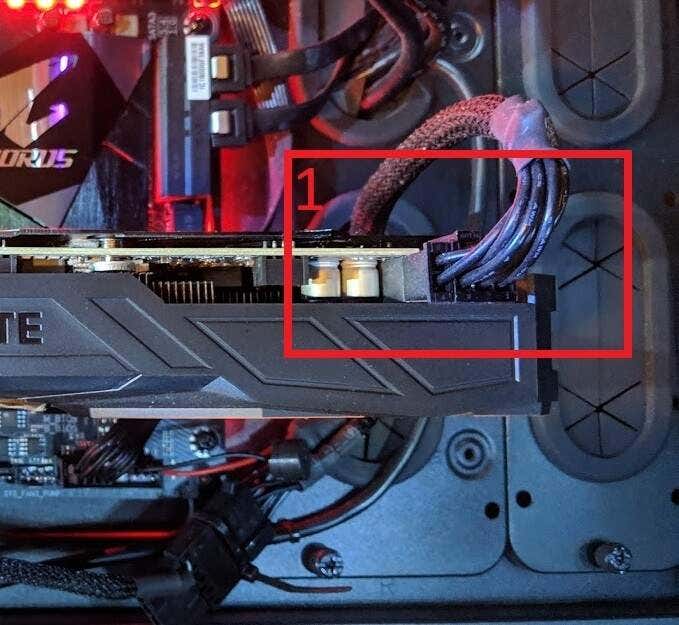
Labeled above (1), you’re free to see the graphics card power cable.
This needs to be unplugged.
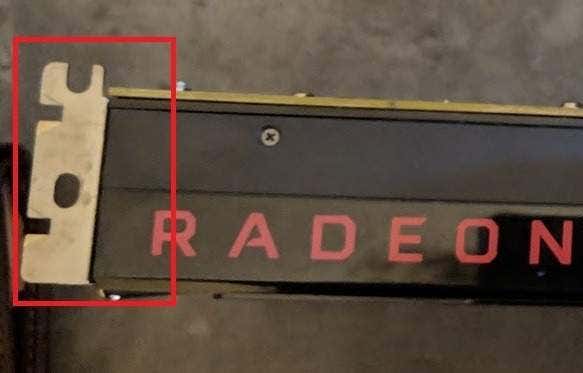
Press down on the clip and then pull it away from the graphics card.
If its not budging, double-check you are pulling down on the clip.
This clip keeps the power cable securely in place.
An image below has been provided for reference.
Now that the power cable is removed, its time to unscrew the graphics card from the motherboard I/O.
A standard phillips or flathead screwdriver will work here.
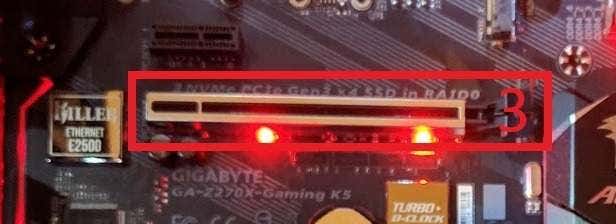
This is called a PCI-E slot.
For an example, the image below has been provided.
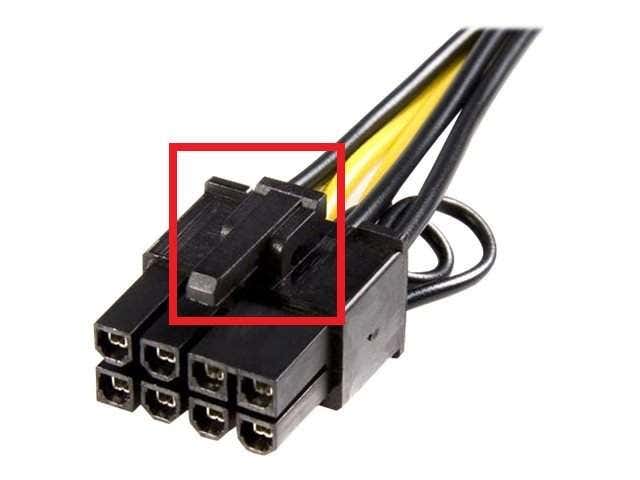
In the image below, the clip itself has been marked by the number 3.
Once again, you should push down the clip so that the graphics card can fit in safely.
After that has been completed, your graphics card will now be slotted into the motherboard.
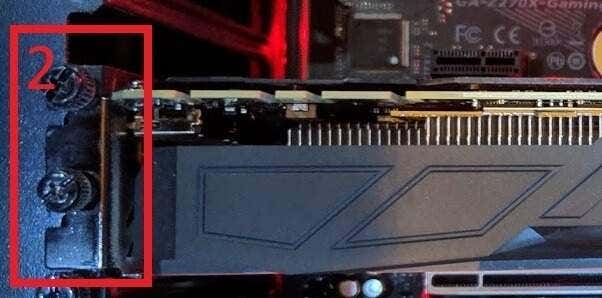
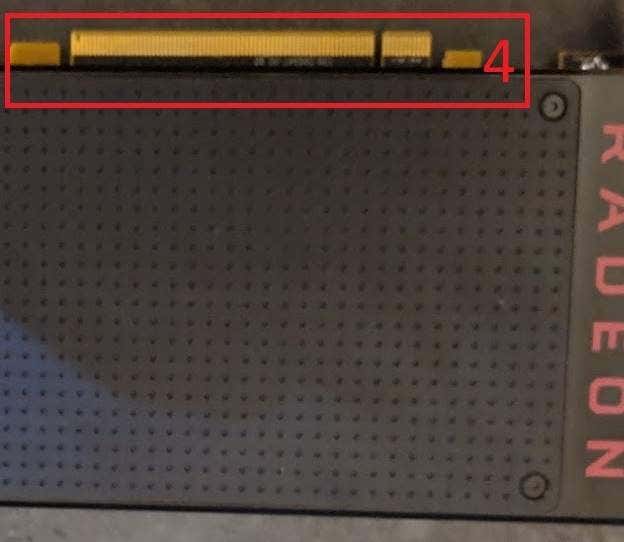
For the next step, you should take screws and screw your new card into the motherboard I/O.
This will help the GPU to stay secure.
The image below shows the area you should be installing the screws into.
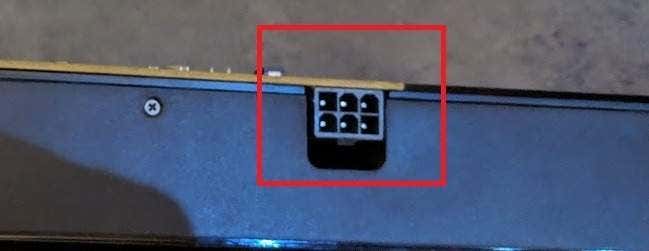
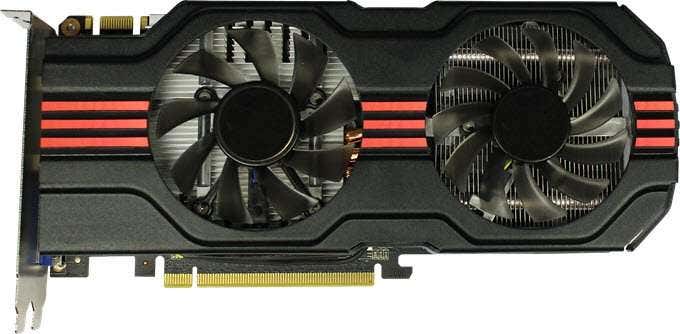
Below is an example of the area on the graphics card youll need to implement the cable.
Keep in mind that not all graphics cards are the same.
Some, like this one, require a six pin cable.
Some require a 4 pin, and some even require an 8 pin.
In most cases though, everything you need should be available to you already.
So that summarizes how to plug in a new graphics card.

Use the checklist below to ensure youve taken the right steps before you switch your PC on.
It may be the case that a CD has been included with your graphics card.
If that is the case, you could use that and skip the steps below.
To Install Drivers for an AMD Card
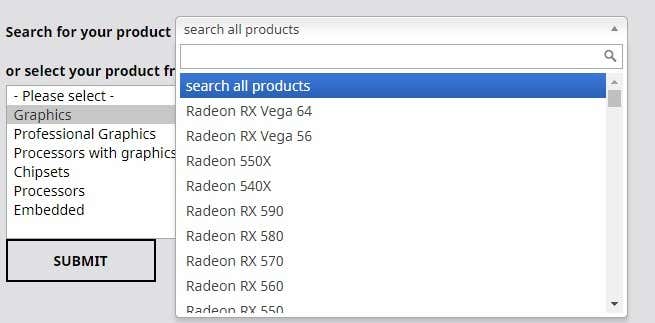
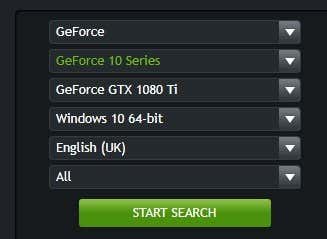
Go to theAMD support pageandsearch for your graphics card model.
after you grab found your model, click Search.
Once the search has completed, scroll down and hit the firstGeForce Game Ready Driver.

On the following page, click theDownloadbutton.
Some final notes:Your display may flicker or turn on and off during the installation process.
Dont worry, its completely normal.
