Step 1:Plug in the bootable USB recovery drive into your Windows computer.
Step 3:The User Account Control window will pop up.
Click onYesto launch the tool.

Step 4:Select theBack up system files to the recovery drivecheckbox and click onNext.
It can take time to list all the available drives on your system.
go for the correct one and click onNext.

Step 6:You will see a warning about deleting all the data on the selected USB drive.
Step 7:Patiently wait for the process to complete.
Then, click onFinishto wrap up the Recovery Drive window.

Step 1:Plug the recovery drive into the computer.
Note: The F-keys to access BIOS and boot devices menu vary with each OEM.
So, check the correct Function key for your system beforehand.

Step 3:After the boot devices menu launches, use the arrow keys to choose the recovery drive.
PressEnterto boot using the recovery drive.
Step 4:Wait a few minutes for the USB drive to boot to the Language selection page.

choose a language to select it.
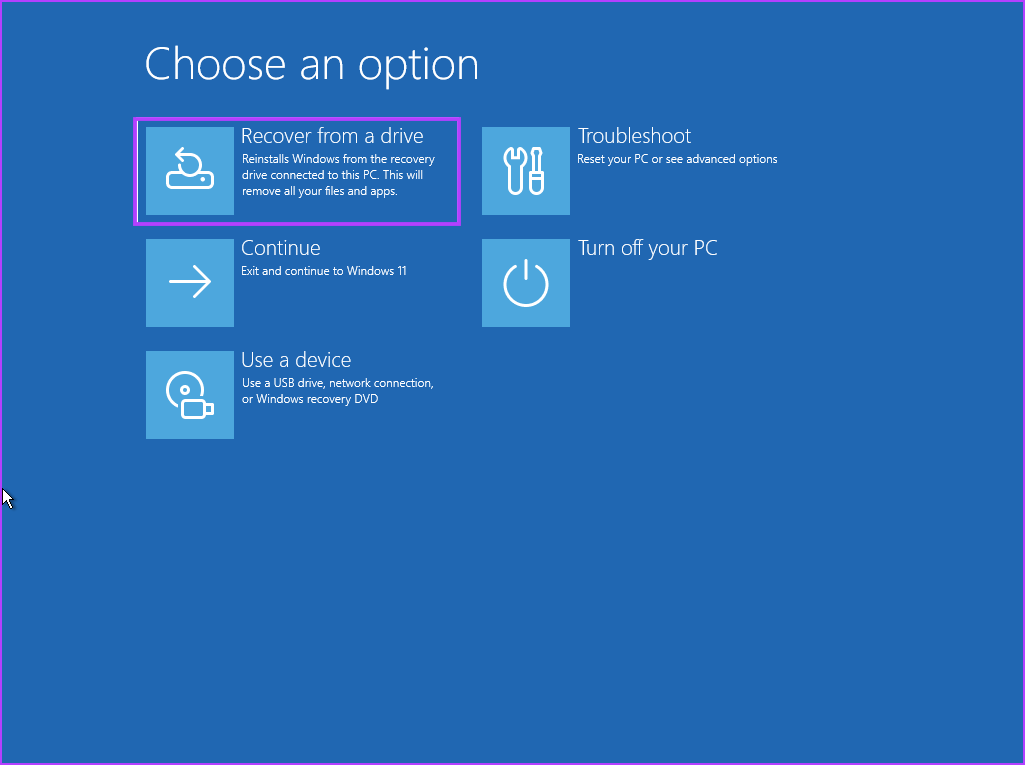
Step 5:On the Choose an option page, click onTroubleshoot.
Step 7:If all these efforts fail, tap the Back button.

Now, click theRecover from a driveoption.
Step 8:Click onJust remove my files.
Step 9:Lastly, click onRecoverand follow the on-screen instructions to reinstall Windows.

A 16GB USB drive will fall short of storage space, so you shouldnt ignore the tools recommendation.
Also, the USB drive must be inFAT32 format.
Creating a recovery drive takes one to two hours.
It is a CPU-intensive process, so if you have a low-spec PC, it can take more time.
So, you must use the Recovery Drive only on your PC.
Was this helpful?

The content remains unbiased and authentic and will never affect our editorial integrity.