Step 2:SelectOptionsfrom the left sidebar.
Step 3:In theExcel Optionswindow, switch to theLanguagetab.
Under Office display language, click theAdd a Languagebutton.
Step 5:ClickOKand wait for Office to download the language pack.
Step 6:After the download completes, click onContinueto close Excel and apply the new display language.
verify you stash your work beforehand.

Wait for Office to apply the new language, and reopen Excel.
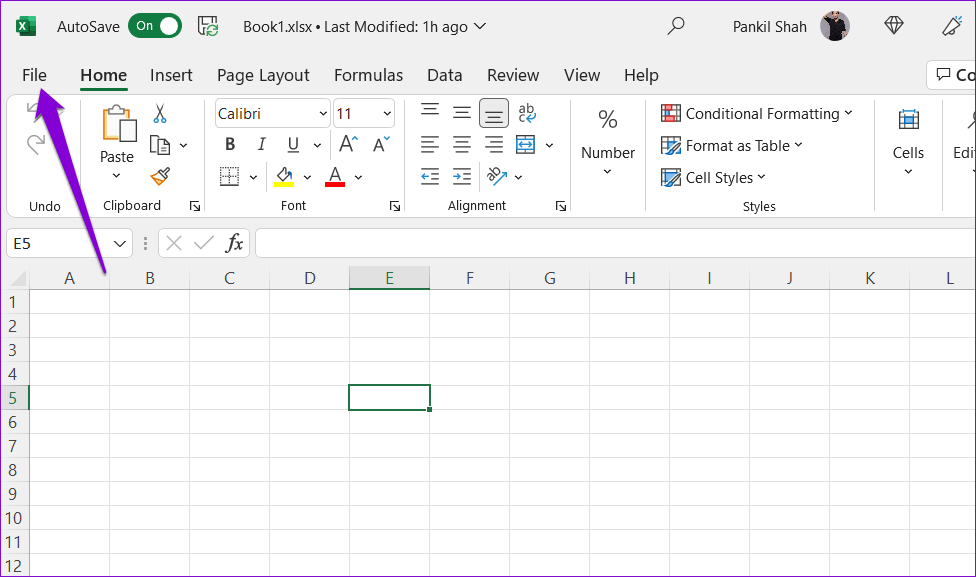
Step 1:Open Microsoft Excel and head toFile > Options.
Step 2:Navigate to the Language tab.

Under Office authoring languages and proofing, select theAdd a languagebutton.
Step 3:Scroll through the list to go for the language you want to use.
If the language supports proofing, tick theGet proofing toolscheckbox and clickAdd.

Step 4:choose the newly added language and click theSet as preferredbutton.
Step 5:ClickYesto confirm.
Restart Excel after completing the above steps.

This will change the default authoring (editing) and spell check (proofing) language in Excel.
Note that the language changes will be reflected in other Office web apps.
Step 2:choose yourprofile iconat the top-right corner and selectMy profile.

Step 3:Scroll down to theLanguage infosection and selectDisplay language.
Then, click theChange display languagebutton.
Step 5:ClickOKto confirm.

After you complete the above steps, Excel will open in the specified language.
Open an Excel file for which you want to change the proofing language.
Step 2:Click theReviewtab at the top and click onSpelling.

Was this helpful?
The content remains unbiased and authentic and will never affect our editorial integrity.