How to Change the Display Language in Windows 11
Windows 11 supports various languages.
To change the display language on your PC, download the relevant language pack and apply the changes.
Heres how to do it.

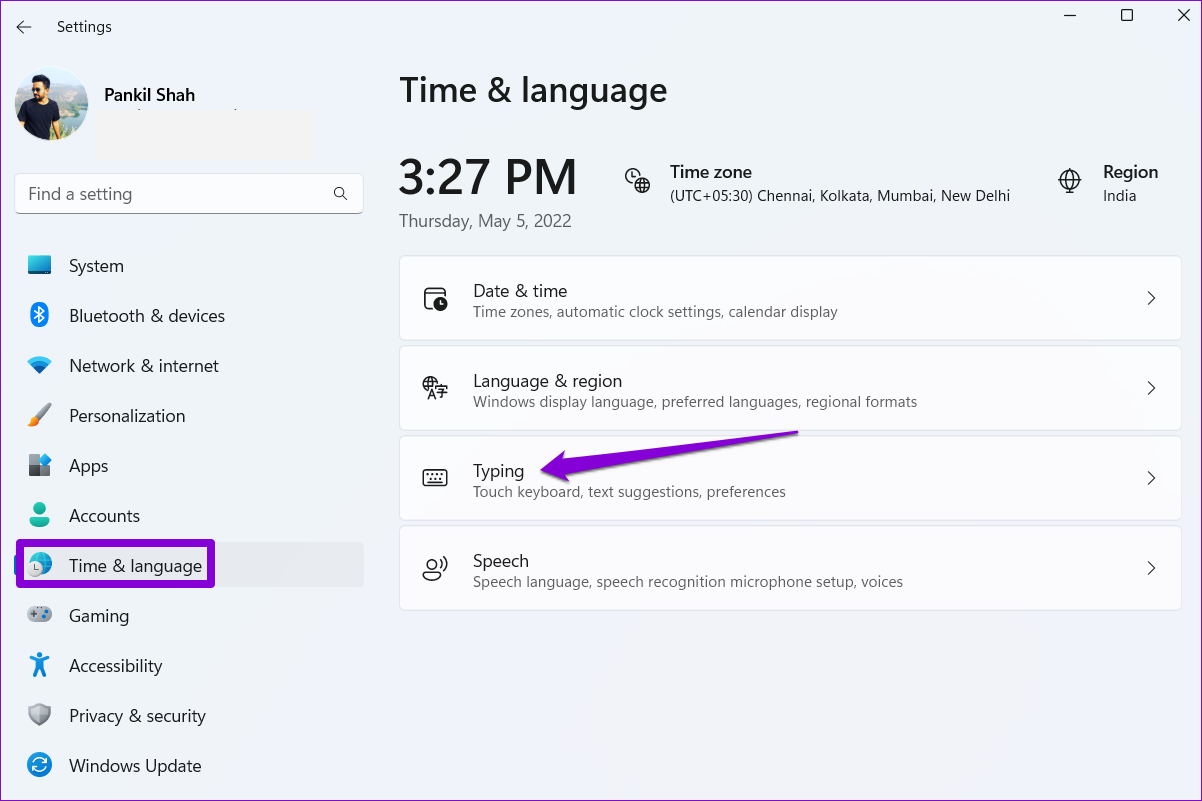
Step 1:Press theWindows key + Ito initiate the parameters app.
Then, go toTime & language > Language & region.
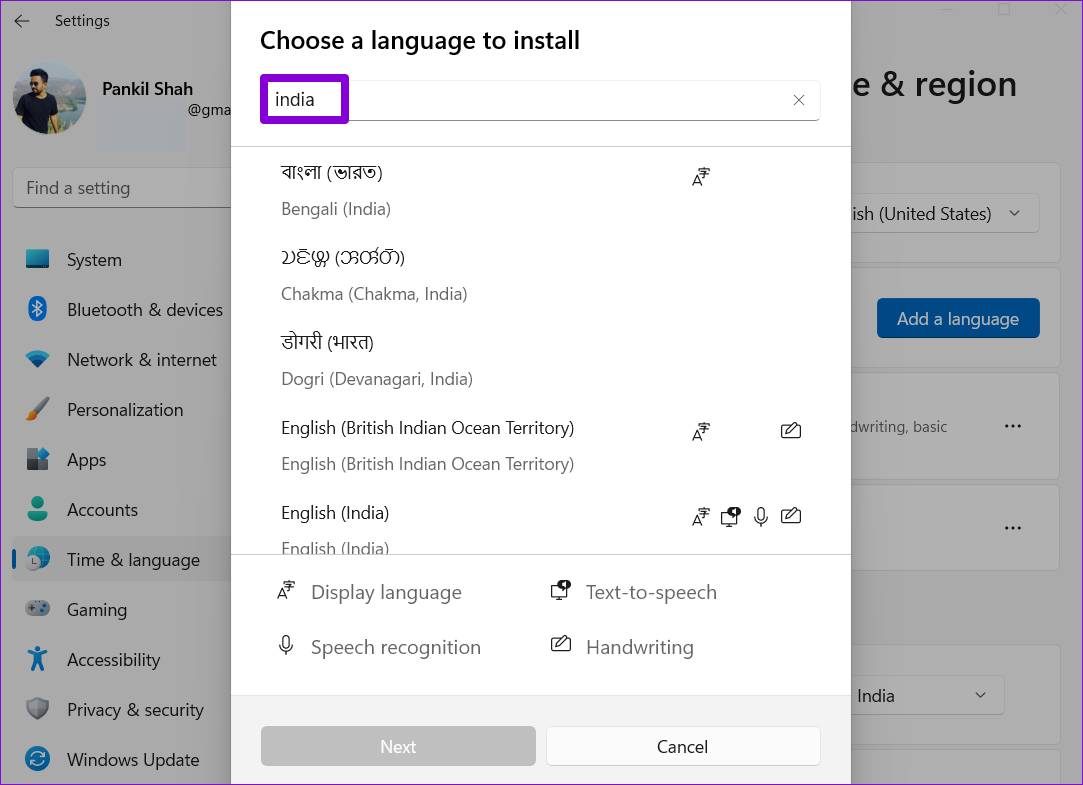
Step 2:Click theAdd a languagebutton next to Preferred languages.

Alternatively, search for available languages by typing the name of a country.
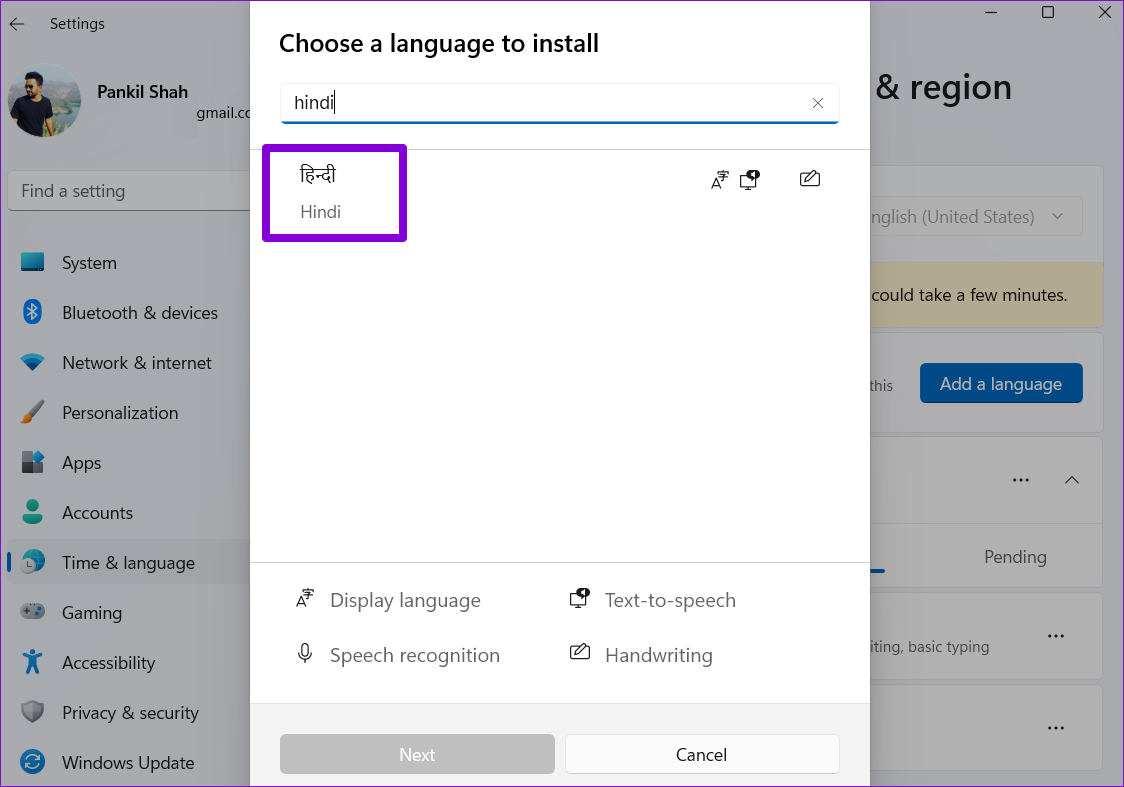
Step 4:Select thelanguageyou wish to use.
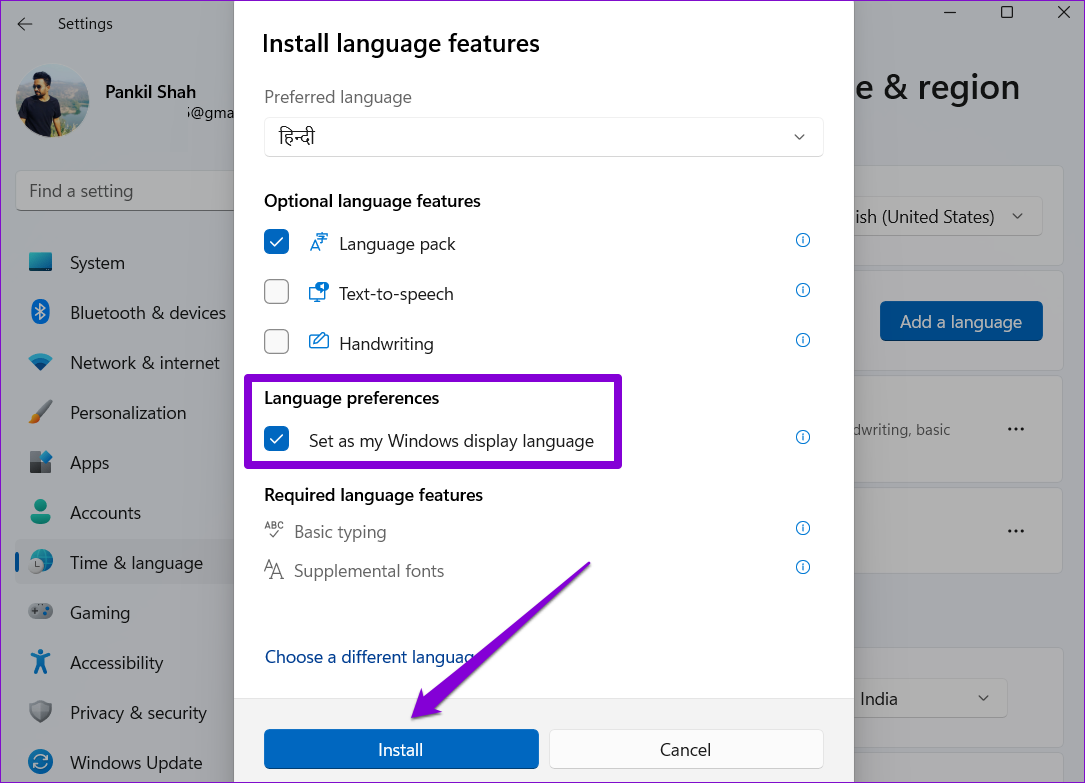
Step 5:Under Language preferences, tick the box forSet as my Windows display languageand clickInstall.
Windows will start downloading the language pack.
Once downloaded, sign out and sign back in to apply the changes.
Doing so will change the default language for apps, menus, and the keyboard.
Windows will sync these changes across devices connected using a Microsoft account.
However, if you dont want that, you canprevent Windows from syncinglanguage preferences.
For that, you must use theControl Panel on Windows.
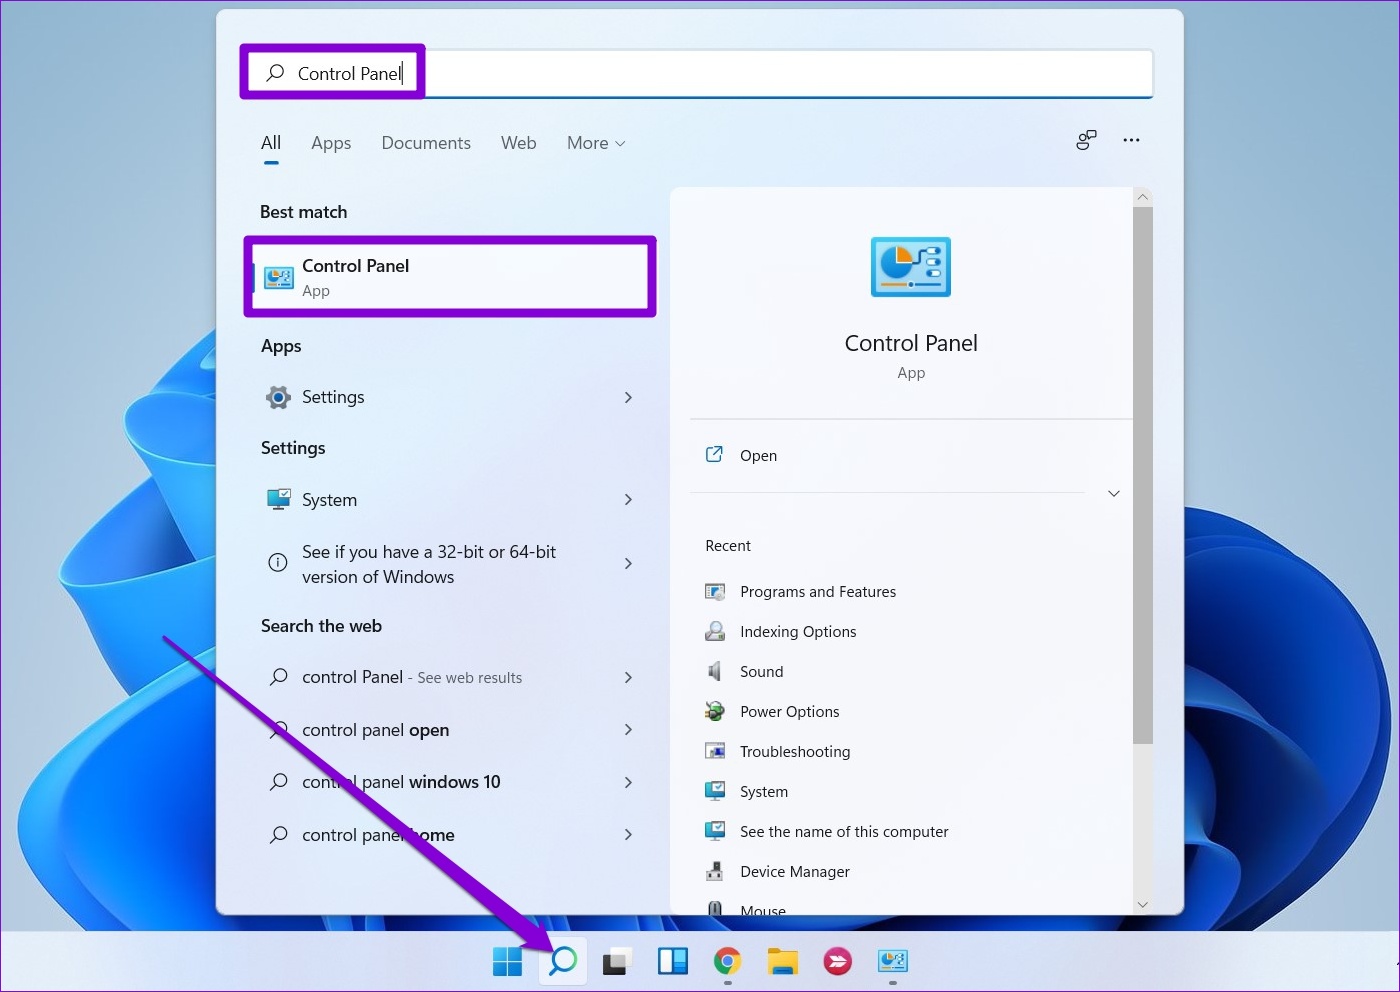
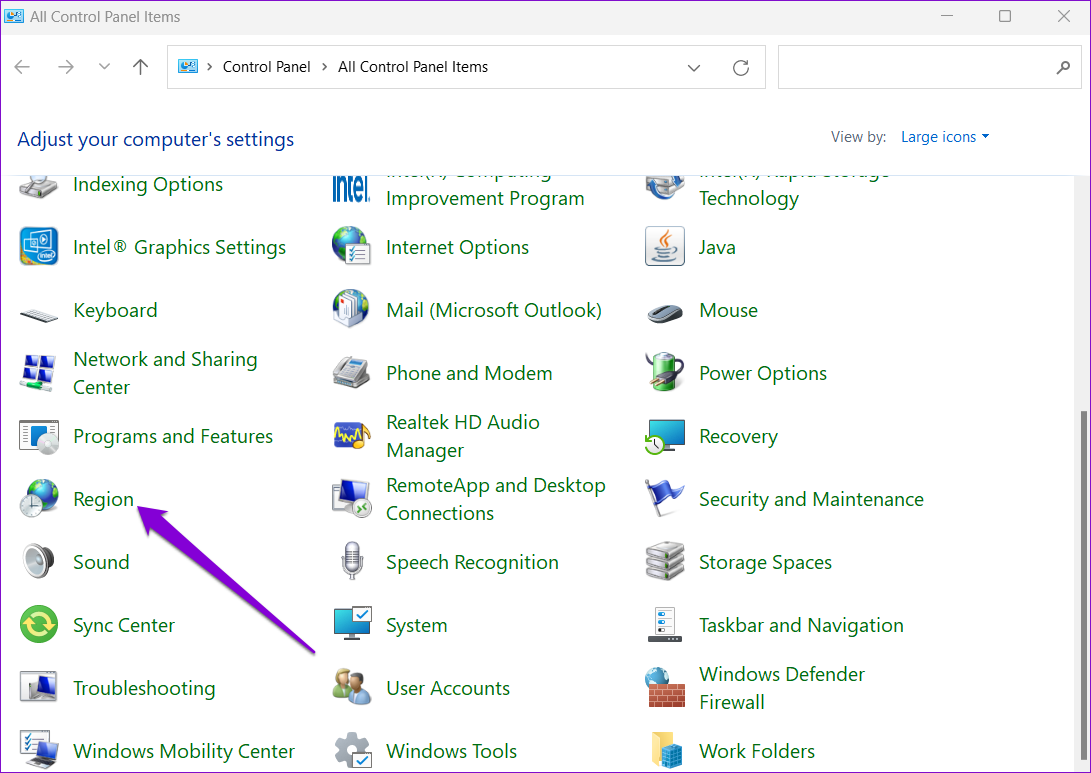
Step 1:Click thesearch iconon the taskbar.
Typecontrol paneland grab the first result.
Then, click onRegion.
Step 3:Switch to theAdministrativetab and clickCopy controls.
Step 4:Mark the boxes forWelcome screen and system accountsandNew user accountsand clickOK.
Reboot your PC, and the new language will be applied everywhere, including the welcome screen.
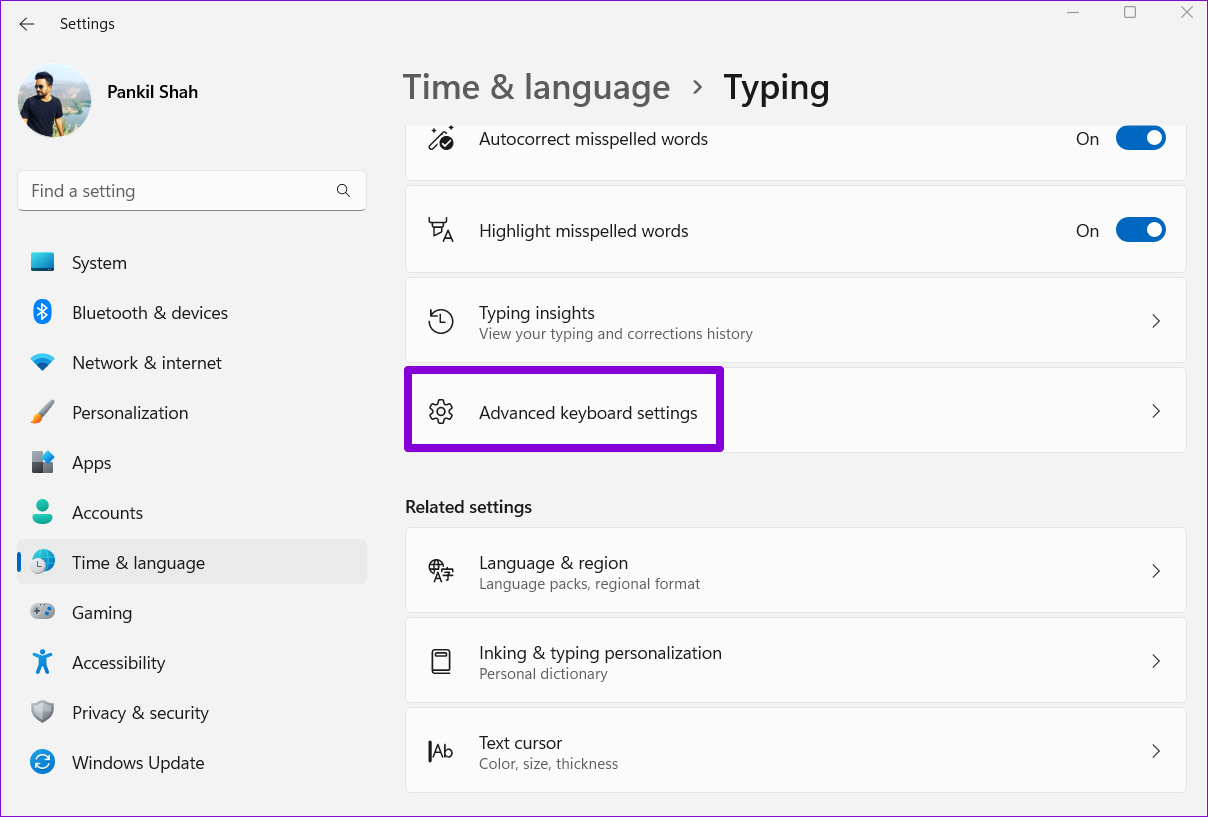
Step 1:Press theWindows key + Ito initiate the parameters app and head toTime & language > Typing.
Step 2:Go toAdvanced keyboard configs.
Step 3:Use the drop-down menu under Override for default input method and select anew languagefor the keyboard.

Optionally, you could uncheckUse the desktop language bar when its available.
This will allow you to switch between keyboard languages directly from the taskbar.
The changes will take effect instantly, and you should be able to bang out in another language.

Was this helpful?
The content remains unbiased and authentic and will never affect our editorial integrity.