Also, all your files must be appropriately named and uploaded to avoid confusion later.
Step 1:launch the presentation and opt for slide where you want to add the voice-over.
Step 2:Click theUploadssection on the left and switch to theAudiotab to reveal all the audio files.
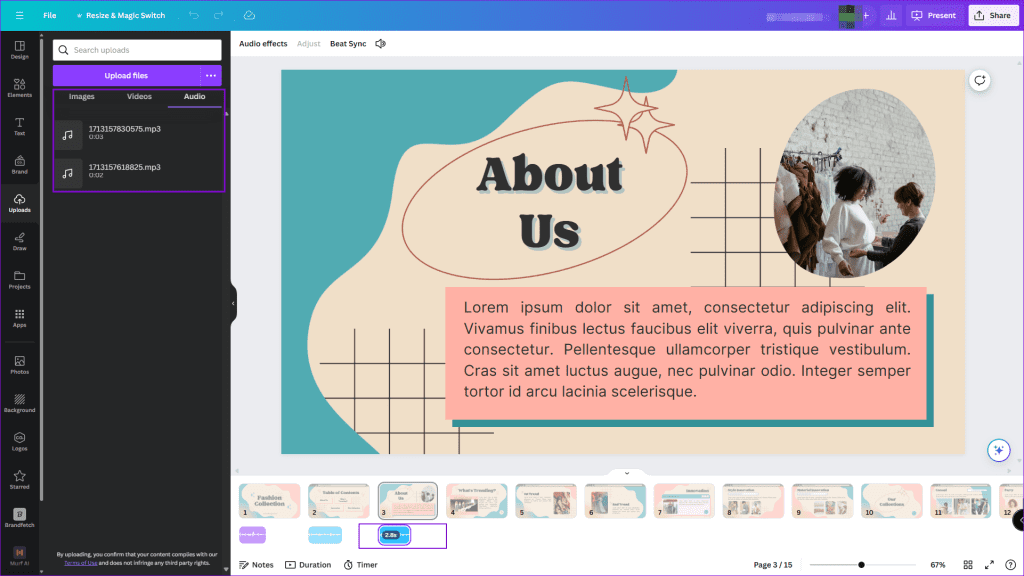
Repeat the above steps for all the slides.
Once everything is in place, tap thePlaybutton to view and hear your voice-overs.
If you have missed uploading an audio file, you could manually do it when editing the presentation.
This method comes in handy when you cannot access thePresent and Recordoption, which we have explained next.
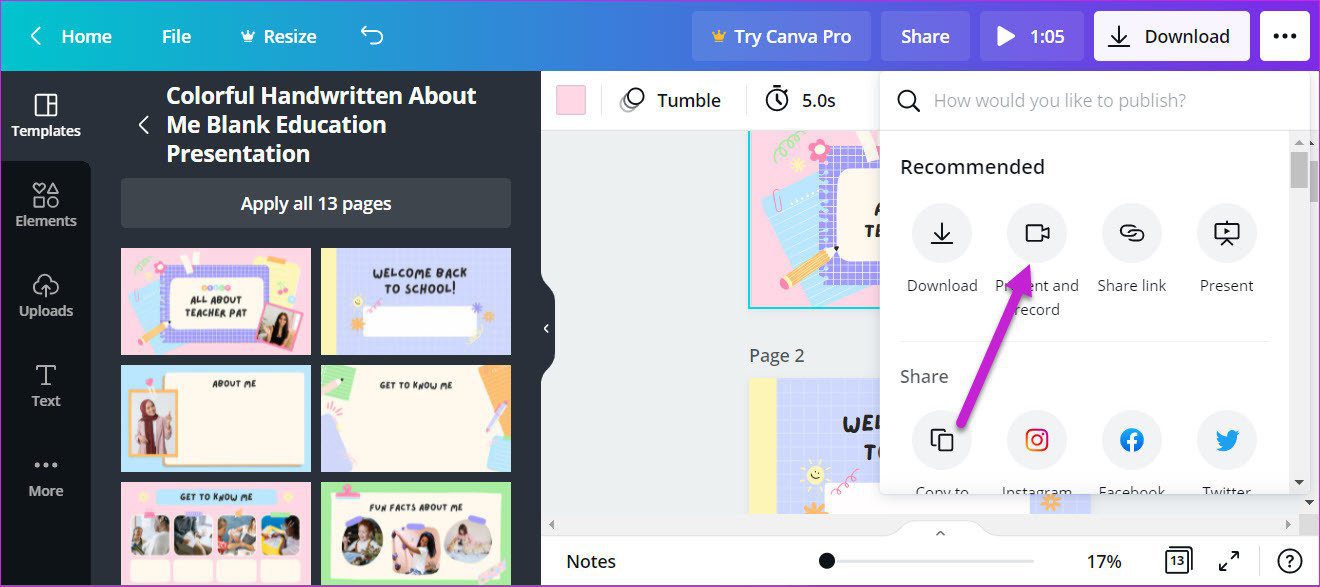
Step 1: fire up the presentation and select thethree-dot menuat the extreme right corner.
Step 2: SelectPresent and Recordfrom the list of options >Start Recording.
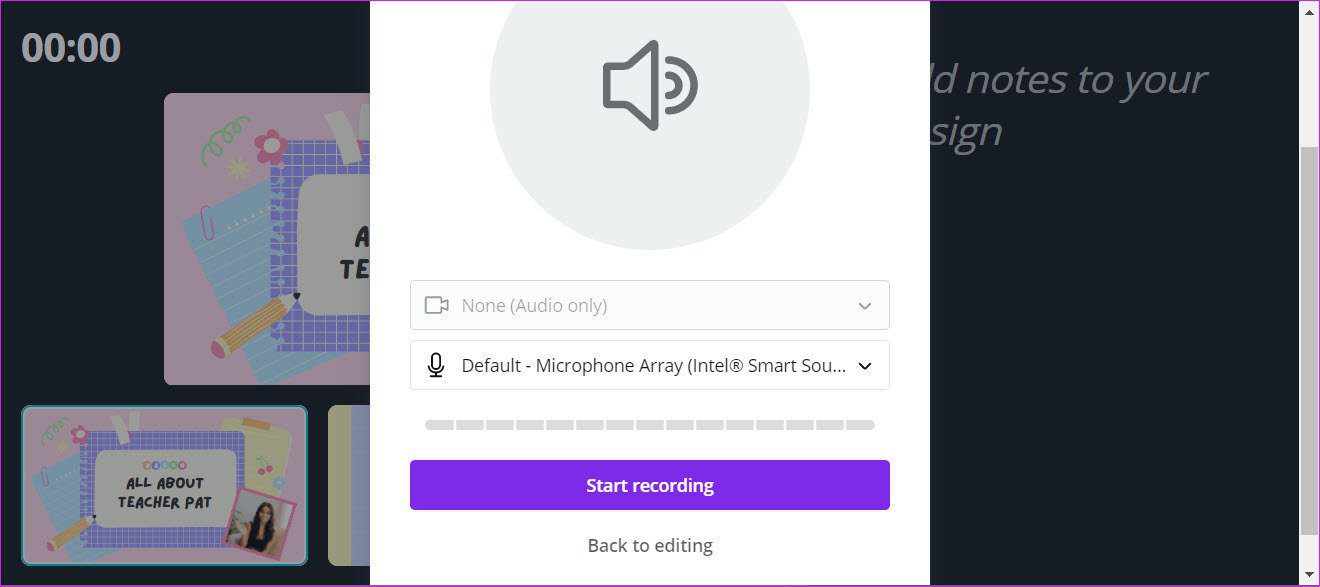
Step 3:It will prompt you to allow access to the camera and microphone.
Step 4:Now, record your voice for all the slides.
The slides with recorded audio are marked in red.
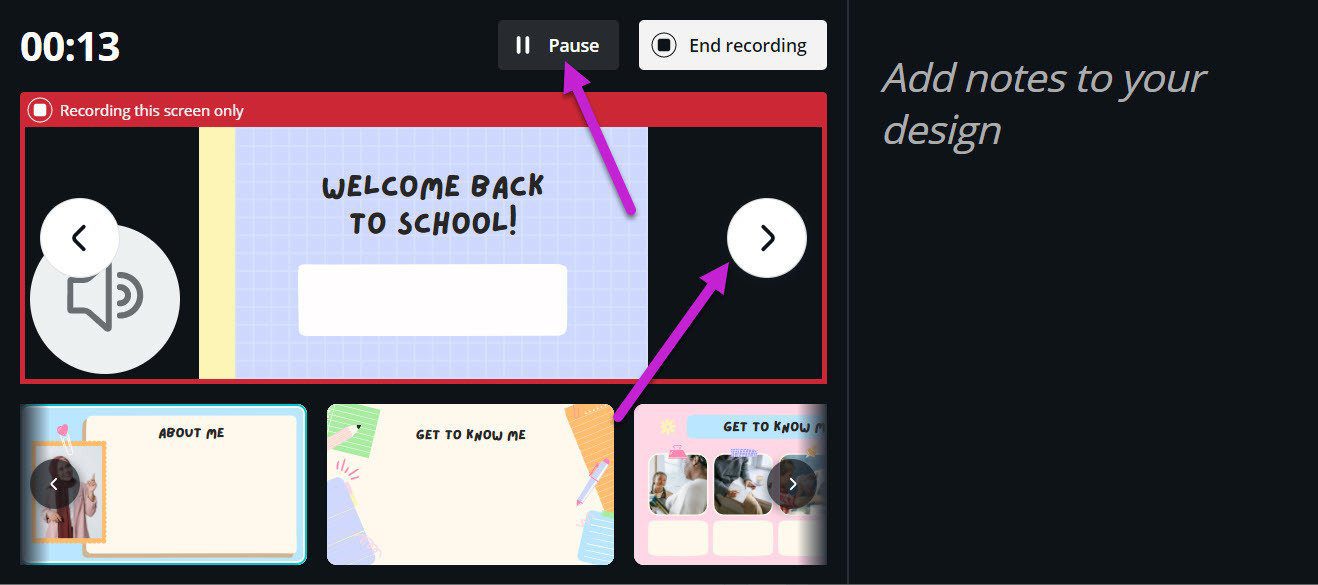
Remember to move along the slides as the presentation asks.
When you oughta pause, click onPause.
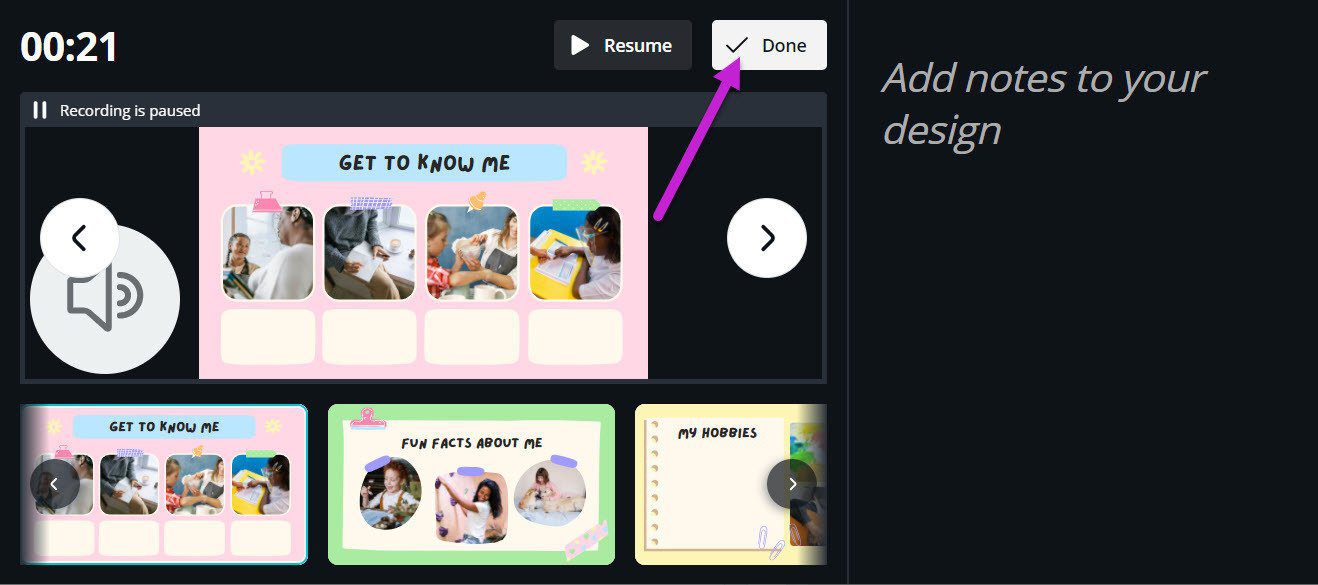
Step 5: Once the recording is complete, click onDoneat the top right corner.
Depending on the length of the audio and the presentations content, the download might take time.
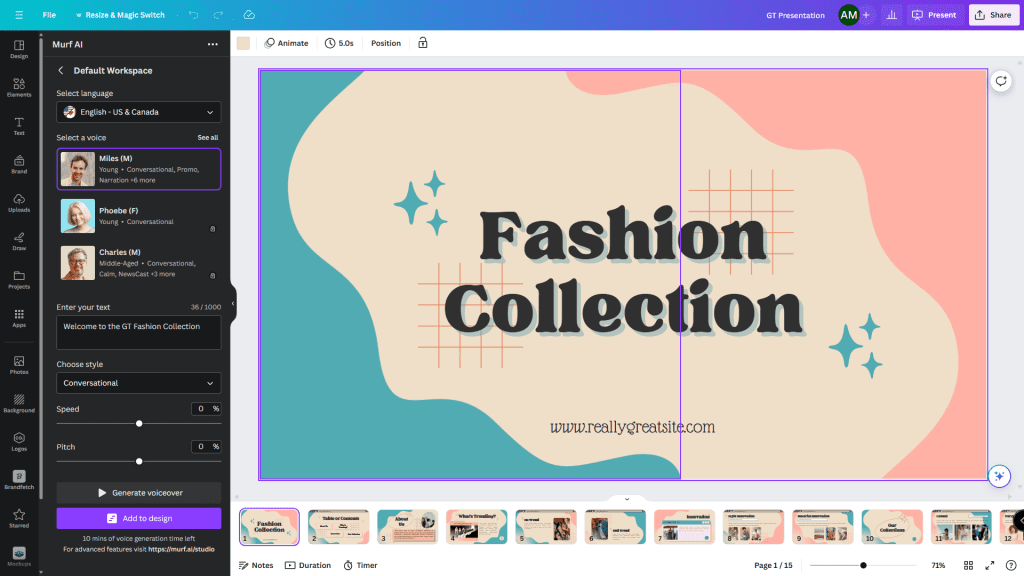
Here, we are using Murf AI.
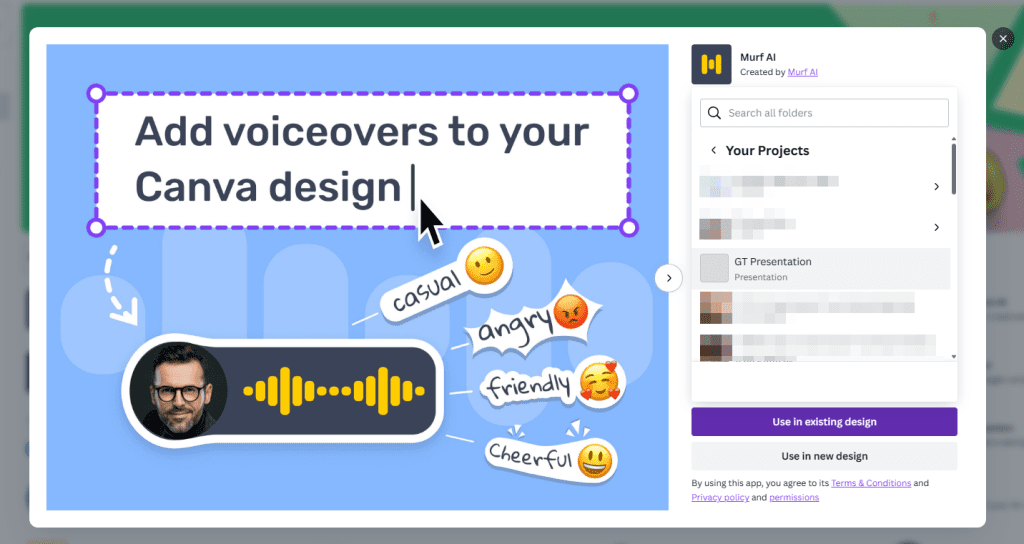
Step 1:Open Canva, go toApps, and search forMurf AI.

Step 2:choose it, sign in using your existing account, or sign up.
Step 3:Once done, it will prompt you to use it in theexisting or new design.
Its easy to add voice-over using AI apps, but there are limitations when using a free account.
For example, Murf AI limits voice-over time to 12-15 minutes.
Was this helpful?
The content remains unbiased and authentic and will never affect our editorial integrity.