Microsoft Teams has various presence statuses that users can set to indicate their level of availability.
Statuses may also adjust automatically, depending on how you use the app.
This guide looks at several Microsoft Teams status codes and explains what each one means and how its used.

Status Code 1.
Status Code 2.
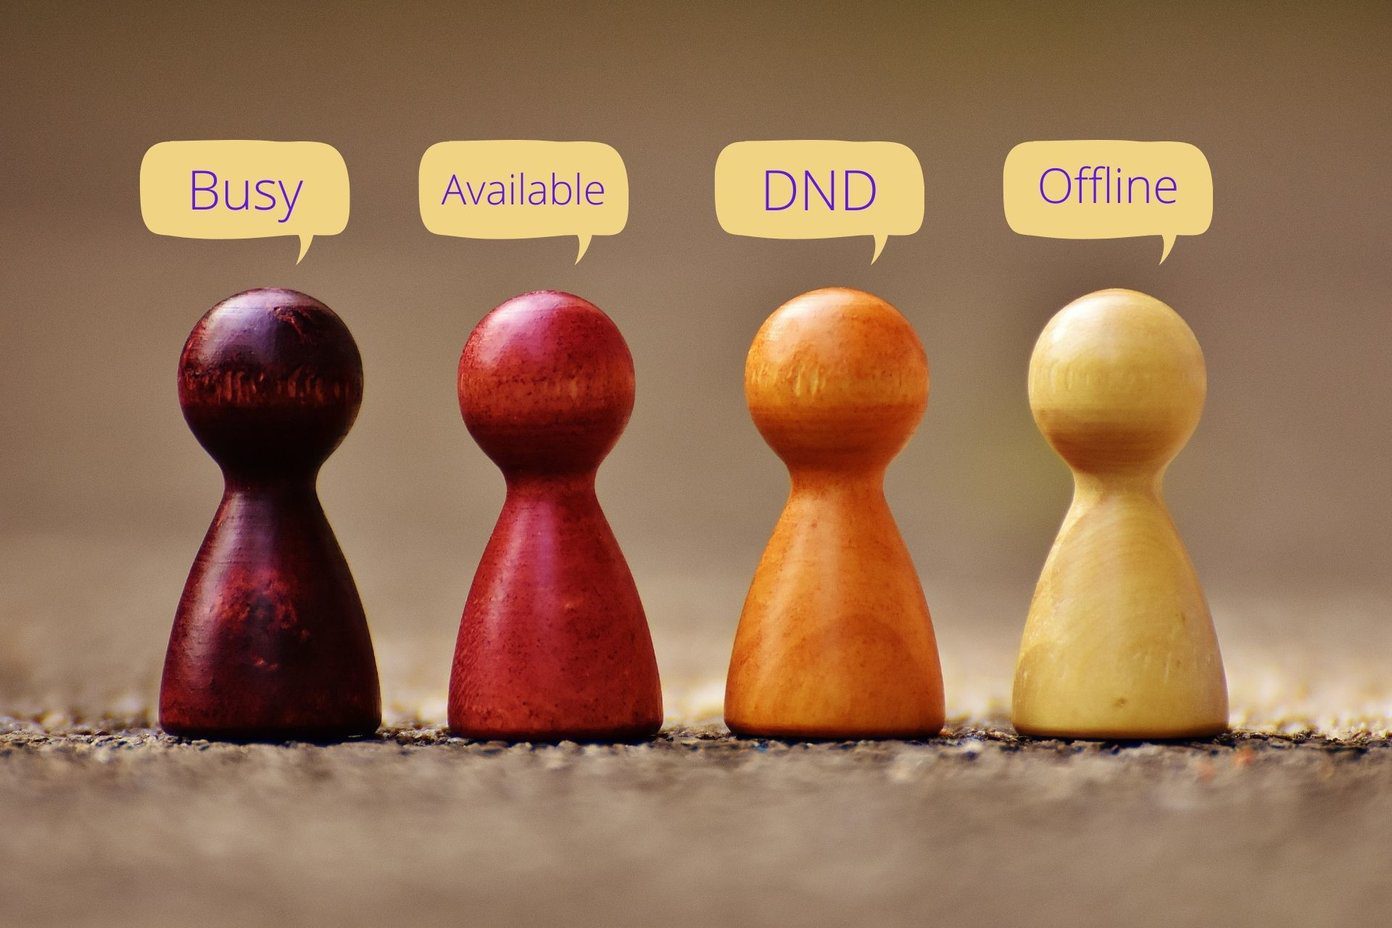
Busy
The Busy Microsoft Teams status code indicates that the person in question is occupied.

Status Code 3.
Do Not Disturb
The Do Not Disturb Microsoft Teams status code is a level up from Busy.
It means exactly what it says the user does not wish to be disturbed.

Status Code 4.
Be Right Back
Be Right Back is another relatively self-explanatory Microsoft Teams status code.
This status code never applies automatically, so you have to manually select it.
Status Code 5.
Status Code 6.
How to Change Your Microsoft Teams Status Codes
Thats the Microsoft Teams status codes explained.
Now, lets see how it’s possible for you to switch between them.
Then tap on your current status and pick whichever one you want from the list provided.
To access this option, just click your profile picture, then select Set Status Message.

you’re free to then throw in in whatever message you want and hit Done to save it.
Was this helpful?
The content remains unbiased and authentic and will never affect our editorial integrity.