In most cases, you’ve got the option to fix such issues by merely updating the driver.
Hence, you should start with that.
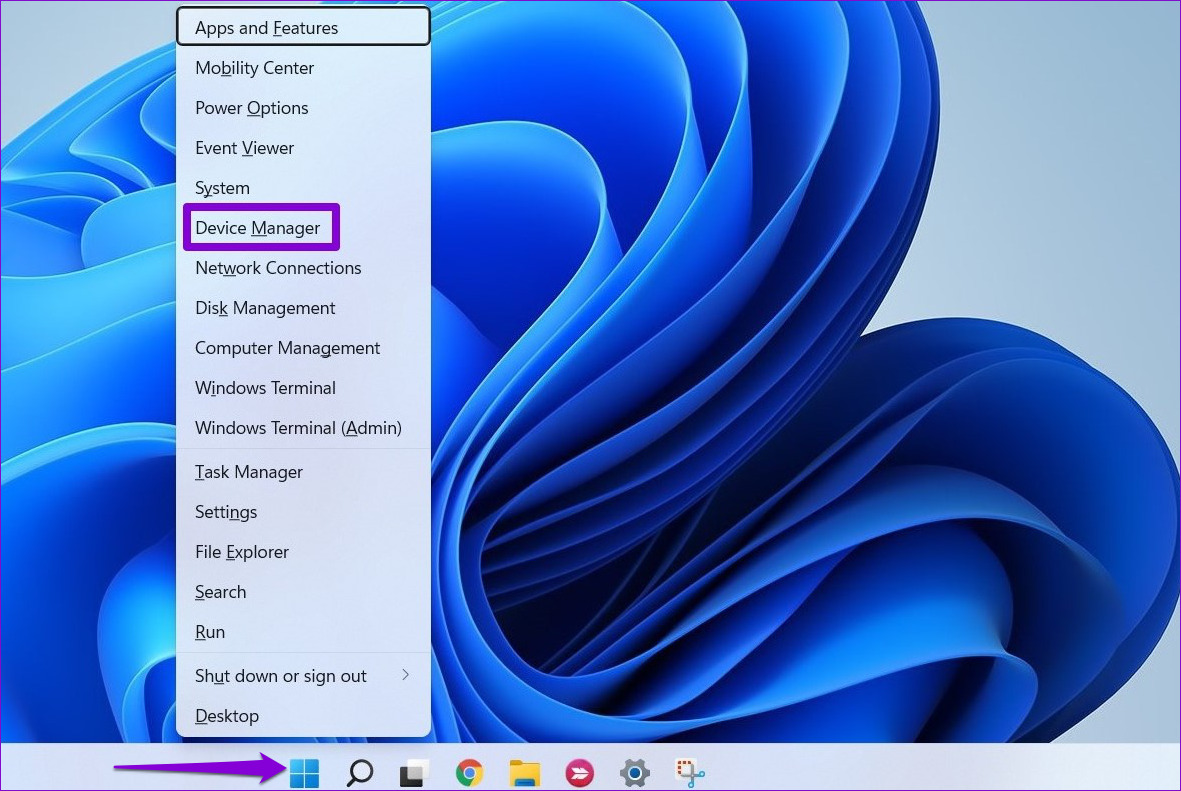
Step 1:Right-click theStart iconand selectDevice Managerfrom the list.
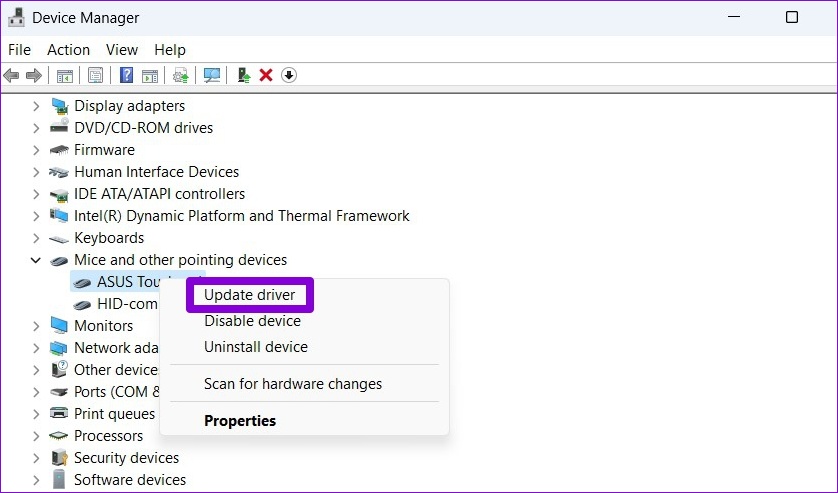
Step 2:Locate the problematic driver, right-select it, and selectUpdate driver.
After that, follow the on-screen instructions to finish updating the driver and see if the error appears again.
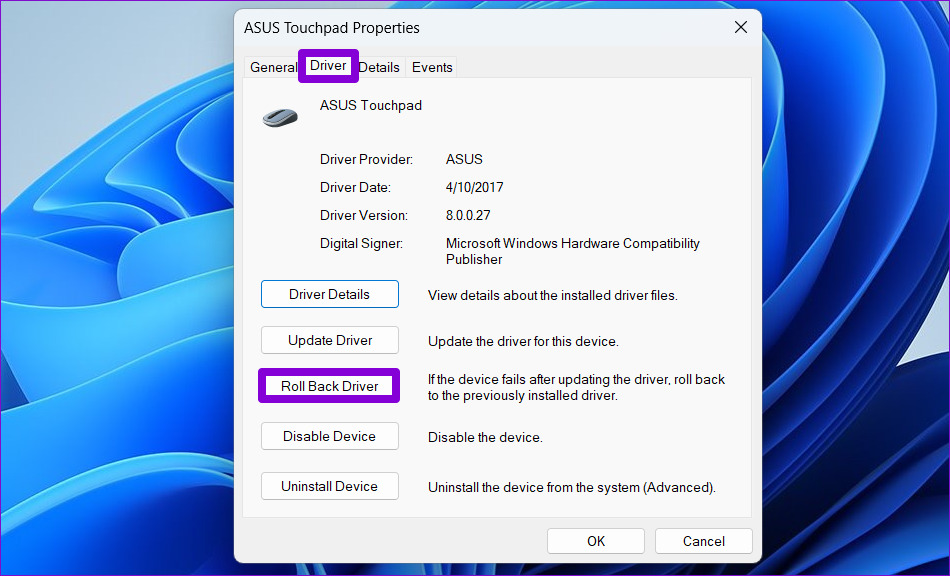
Step 2:Locate the troublesome driver, right-select it, and selectProperties.
Step 3:Under theDrivertab, clickRoll Back Driver.
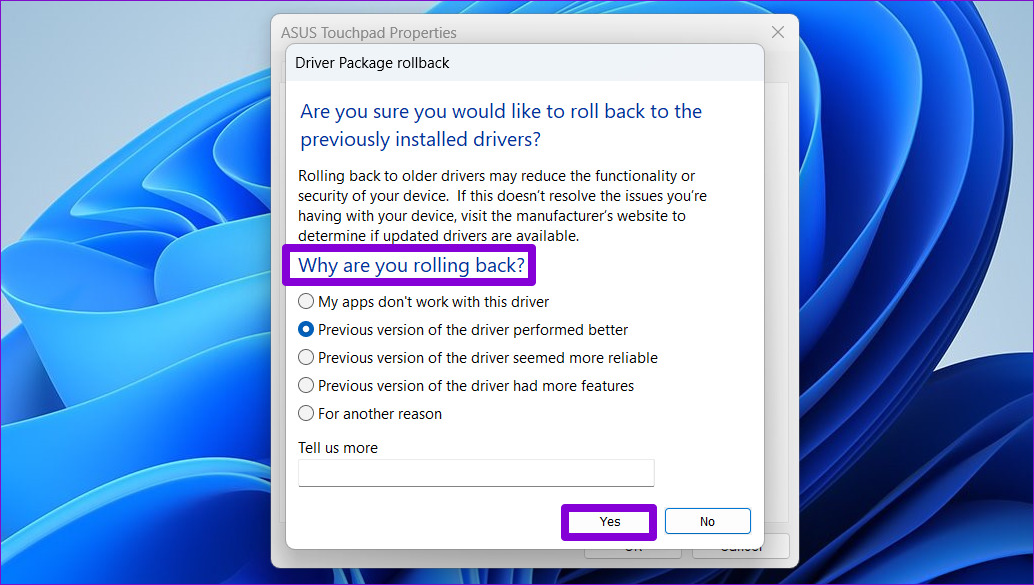
Step 4:Select a reason for the rollback and click onYesto continue.
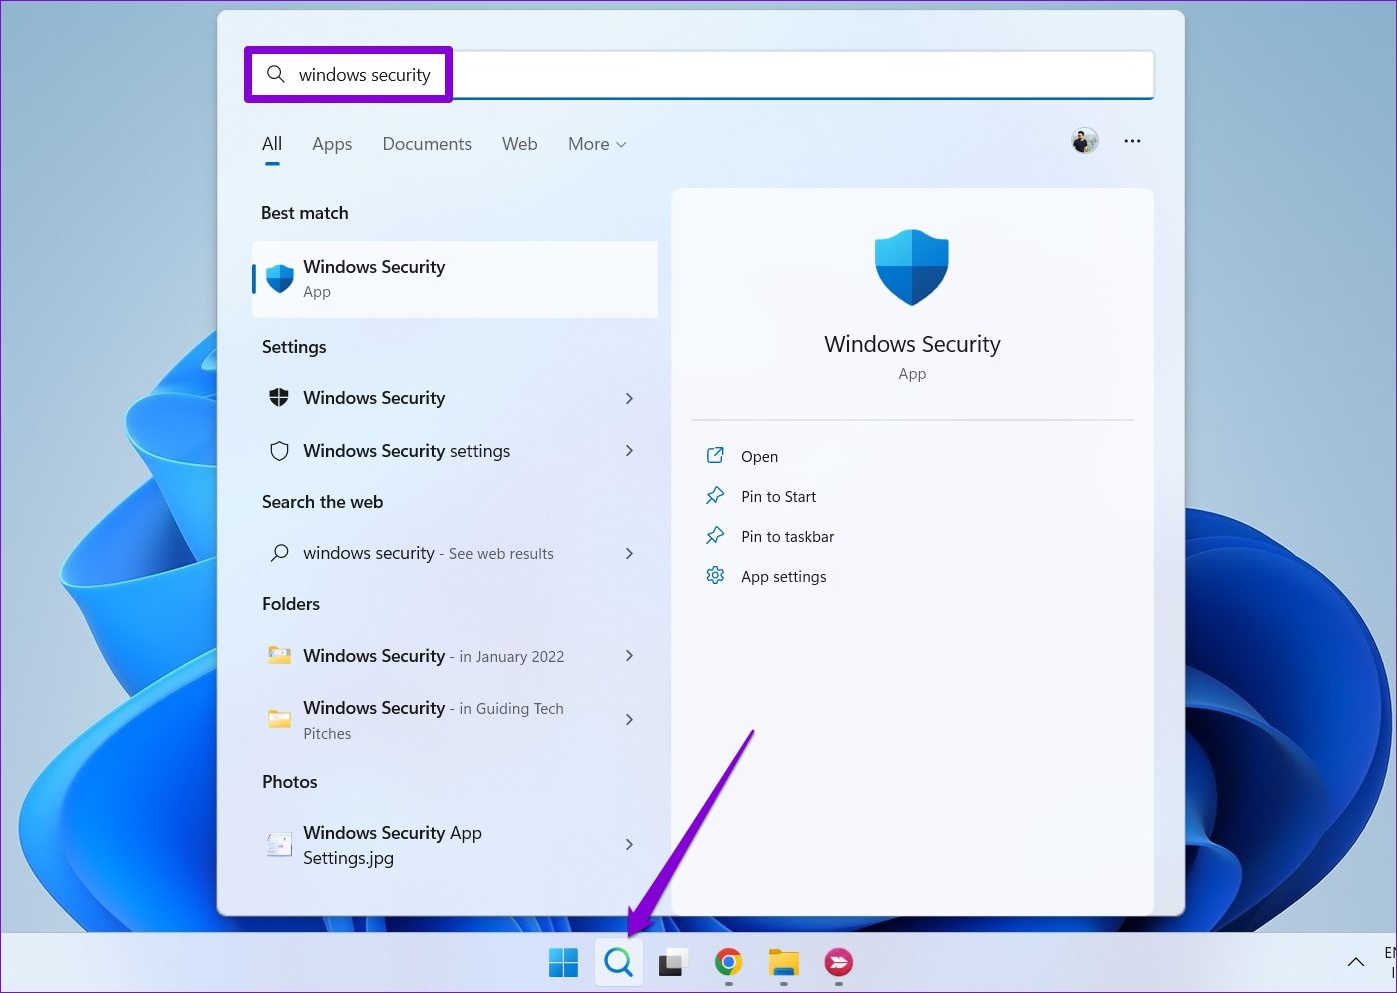
Step 1:Click thesearch iconon the taskbar, punch in inWindows securityand pressEnter.

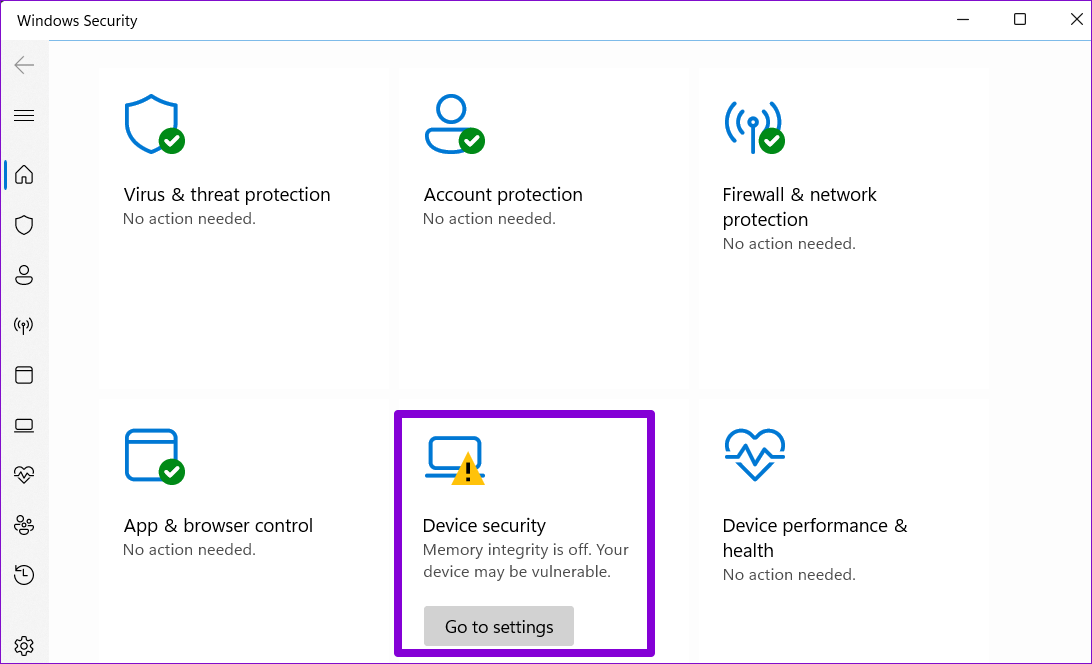
Step 2:Go toDevice security.
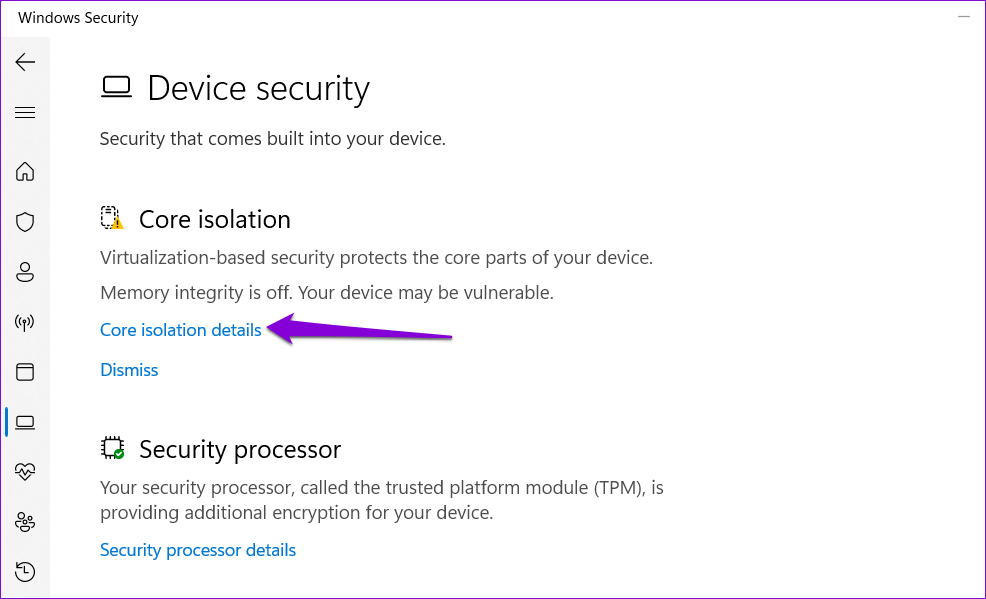
Step 3:Click onCore isolation details.
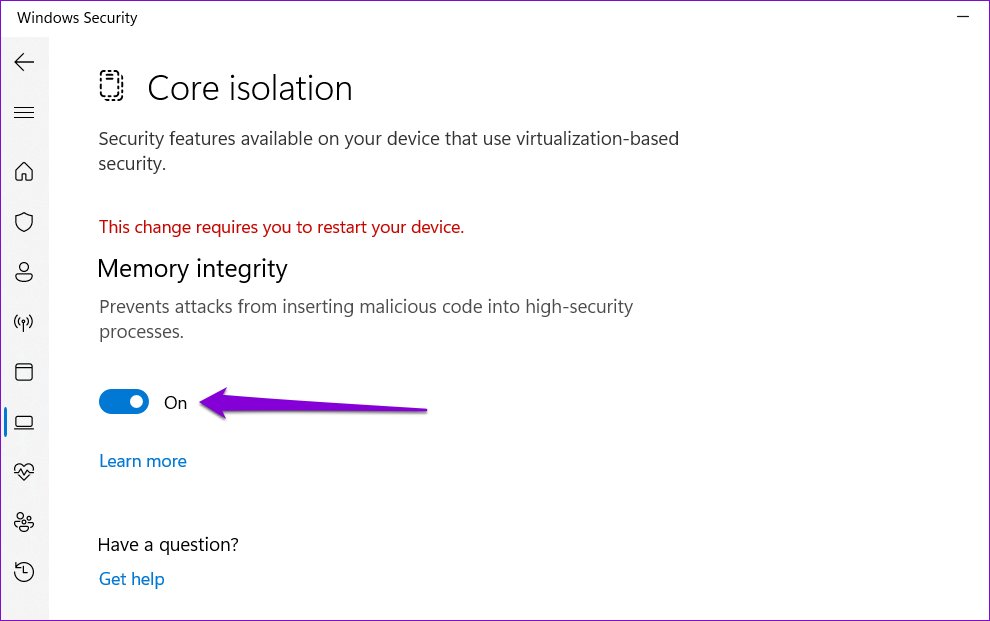
Step 4:Toggle off theMemory integrityoption.
Heres how to find it.
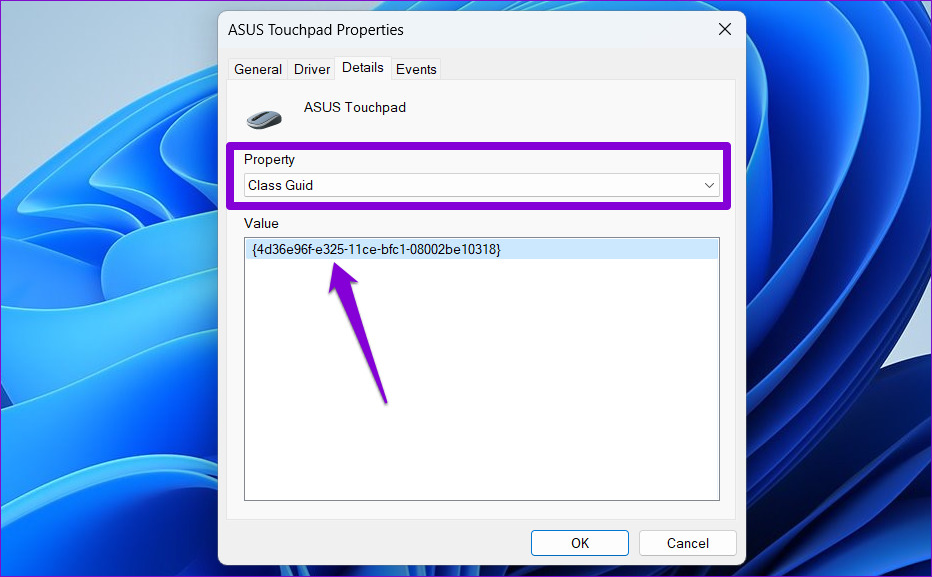
Step 3:Switch to theDetailstab and use the drop-down menu underPropertyto selectClass GUID.
Then, note down the value that appears in the box.
After that, delete the UpperFilters and LowerFilters registry values associated with the rig by following the steps below.
Step 1:Press theWindows key + Rto launch the Run dialog.
throw in inregeditand pressEnter.
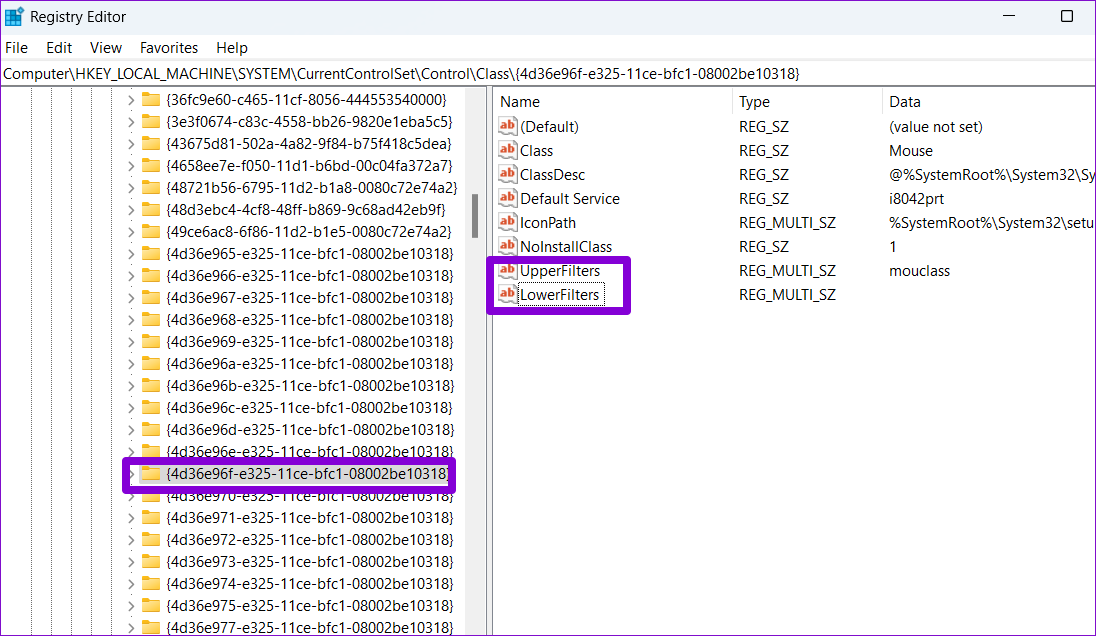
Step 3:Inside the Class key, locate the class GUID noted earlier.
On your right, youll see theUpperFiltersandLowerFiltersvalues.
In some cases, you may only see either of the two values, which is perfectly normal.
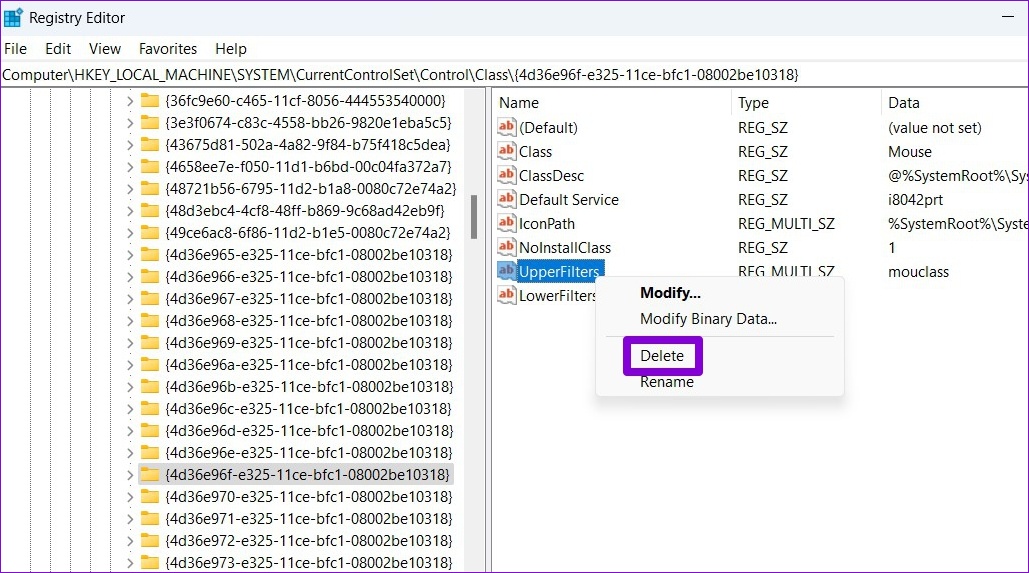
Step 4:Right-click onUpperFiltersand selectDelete.
Repeat this step to delete theLowerFiltersentry as well.
start your PC after this and check to see if the error appears again.
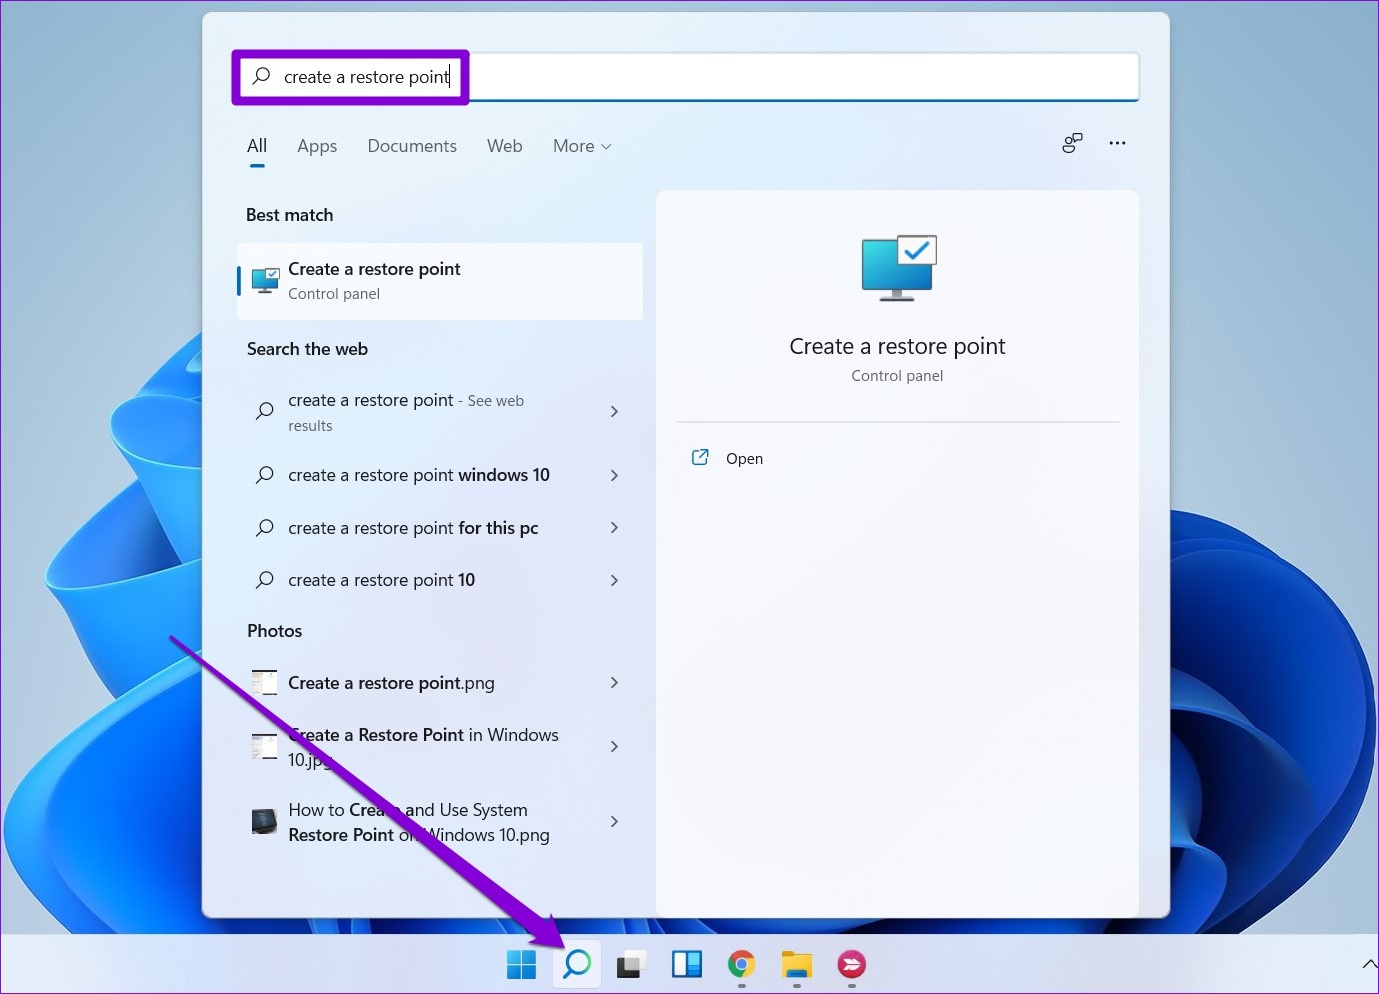
Step 1:kick off the search menu, bang out increate a restore pointand pressEnter.
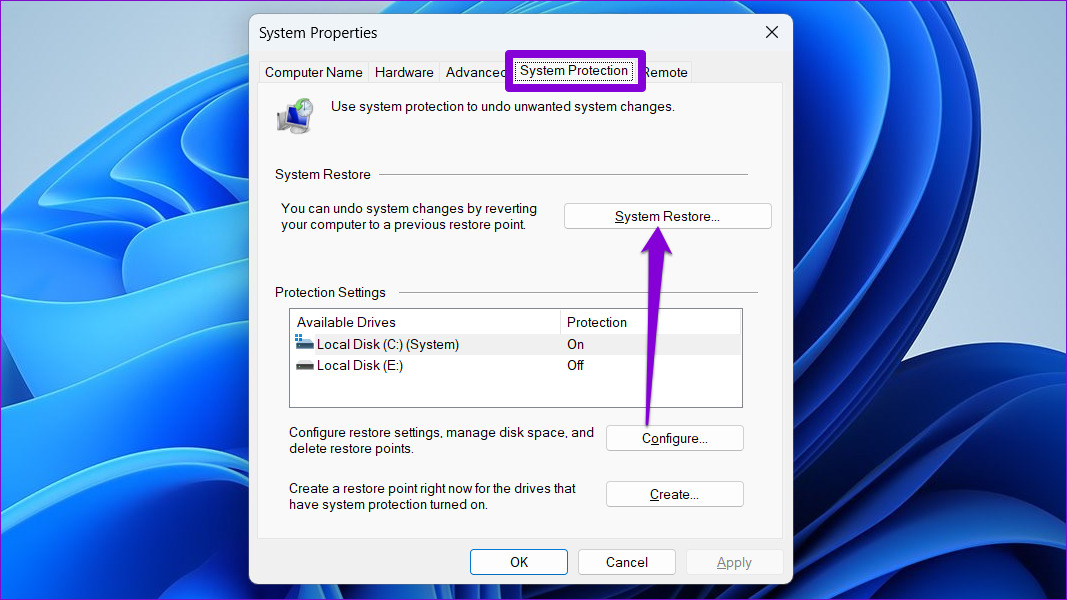
Step 2:Under the System Protection tab, click theSystem Restorebutton.
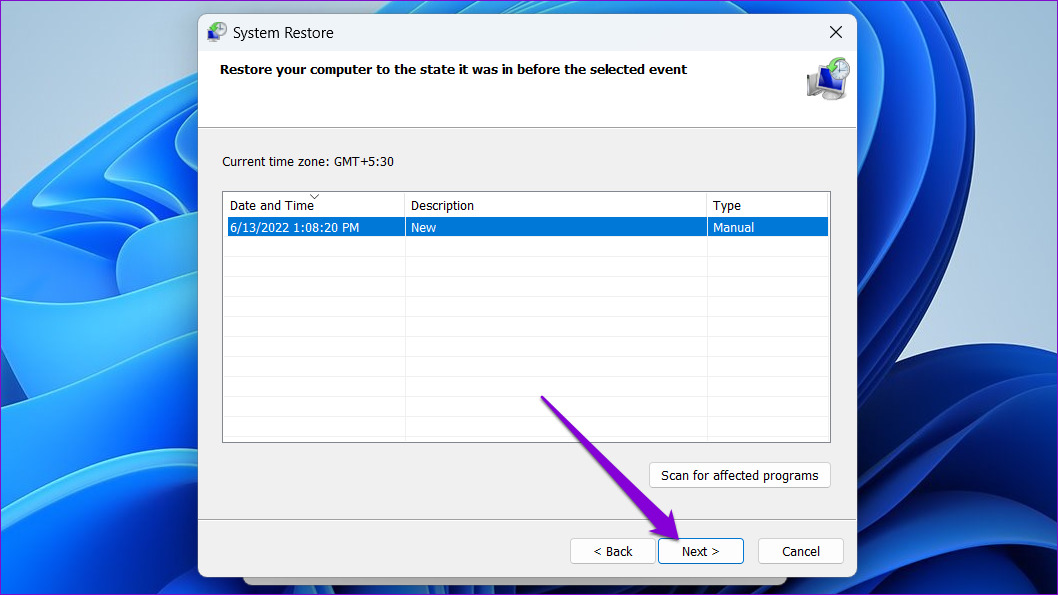
Step 3:ClickNext.
Step 4:grab the restore point before the error first occurred.
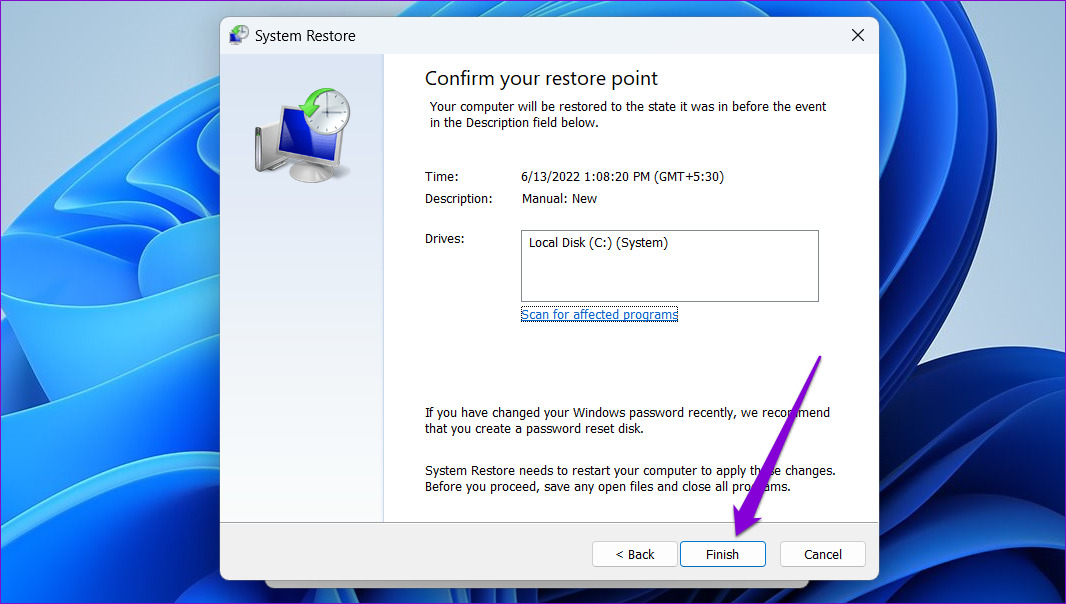
Step 5:Review all the details and hitFinish.
Was this helpful?
The content remains unbiased and authentic and will never affect our editorial integrity.