However, since your laptop also has a screen, can you use a laptop as a second monitor?
The answer is a resounding yes.
Read on to know how to do it.
It can give you more space to work, open tabs, programs, and much more.
But to do this, you dont necessarily need to buy a new second screen.
By using your laptop as the second monitor.
Lets have a detailed look at how to do it.
Lets have a detailed look at how to use your laptop as a second monitor using both methods.
If youre connecting the devices via a wireless connection, ensure theyre both connected to the same data pipe.
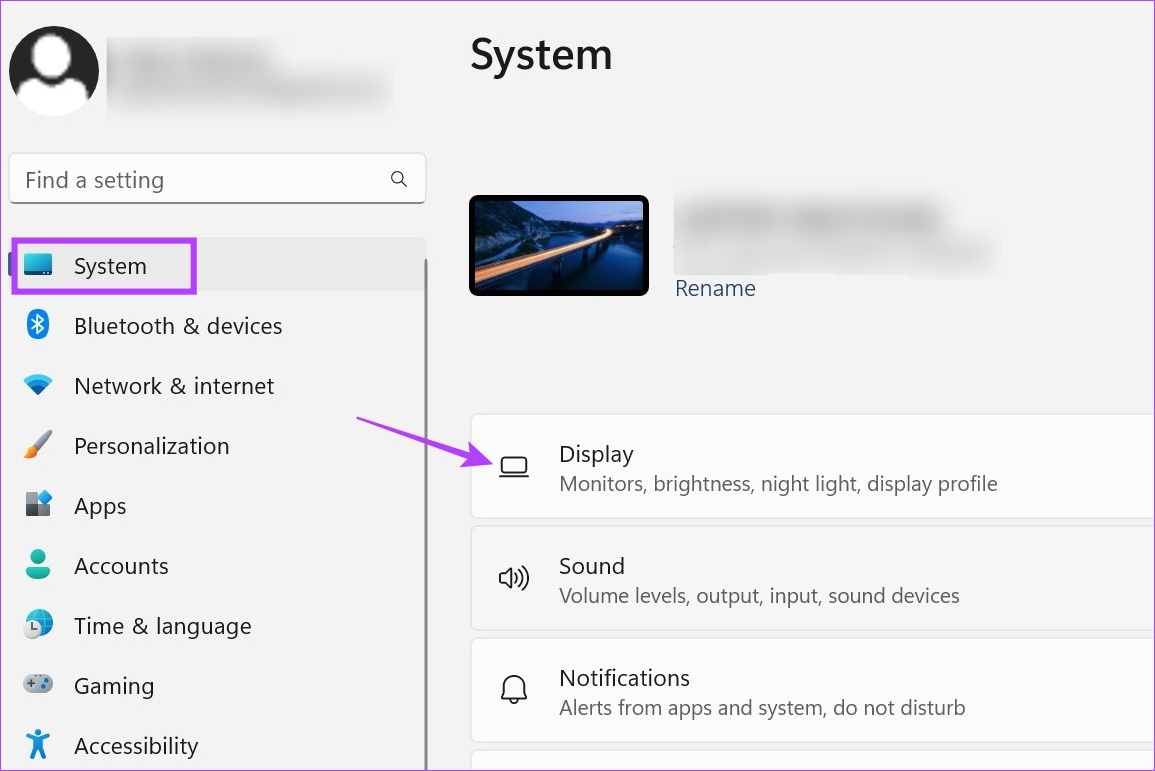
Step 1:Press Windows + I on your keyboard to fire up the prefs menu.
Step 2:Then, press System from the menu options.
Step 3:Here, choose Display.
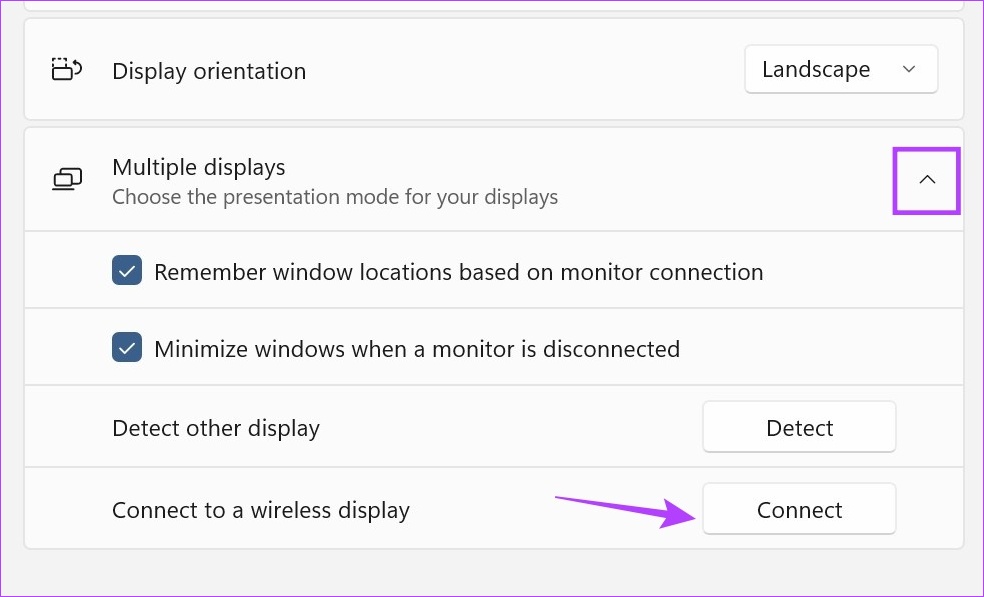
Step 4:Go to the Multiple displays section and go for the arrow to expand the menu options.
Step 5:Now, if youre using a wireless display, hit Connect.
This will fire up the Cast window.
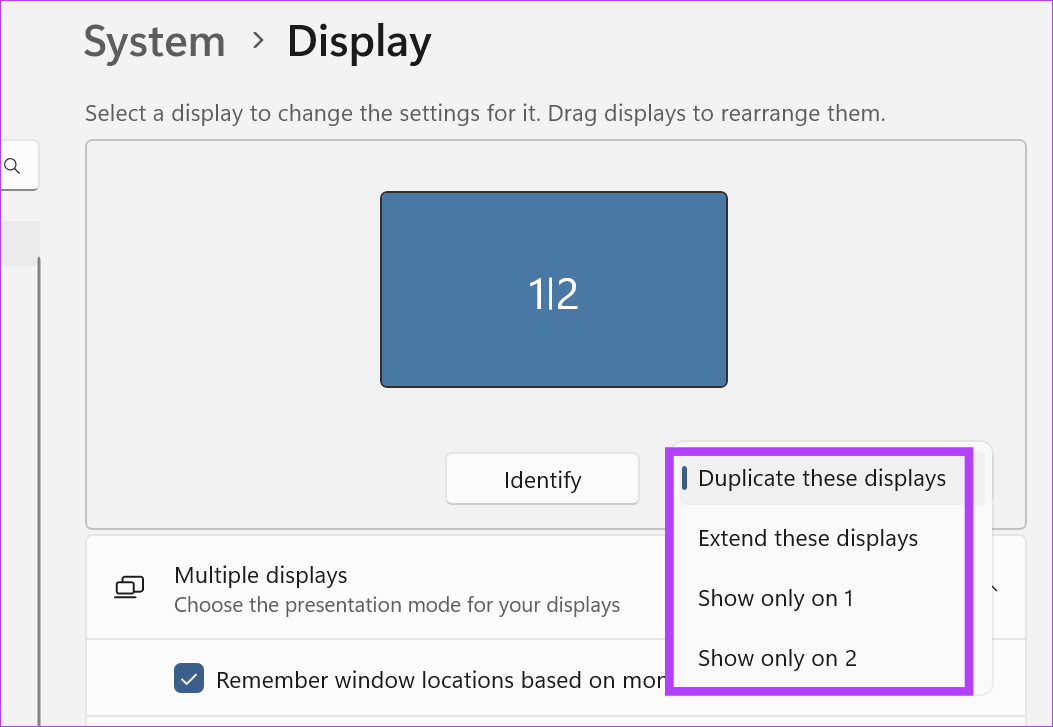
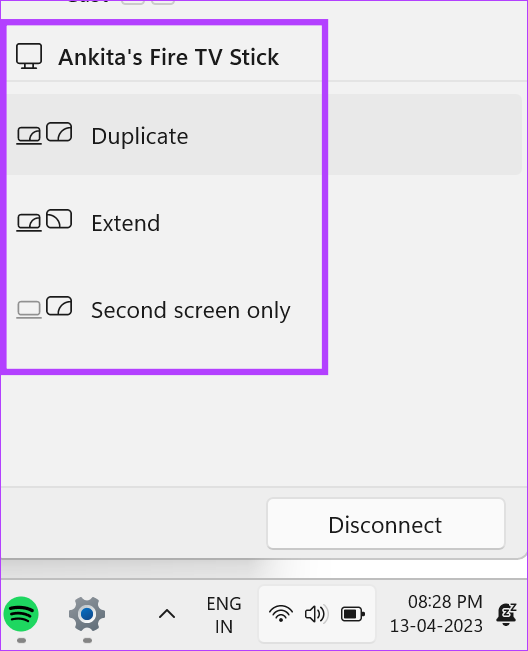
Tip: Choose Duplicate or Secon screen only to display a presentation or watch a movie.
If you wish to work, choose Extend as it spreads the work screen on two screens.
Here, select how you want the screen to be projected onto the second screen.
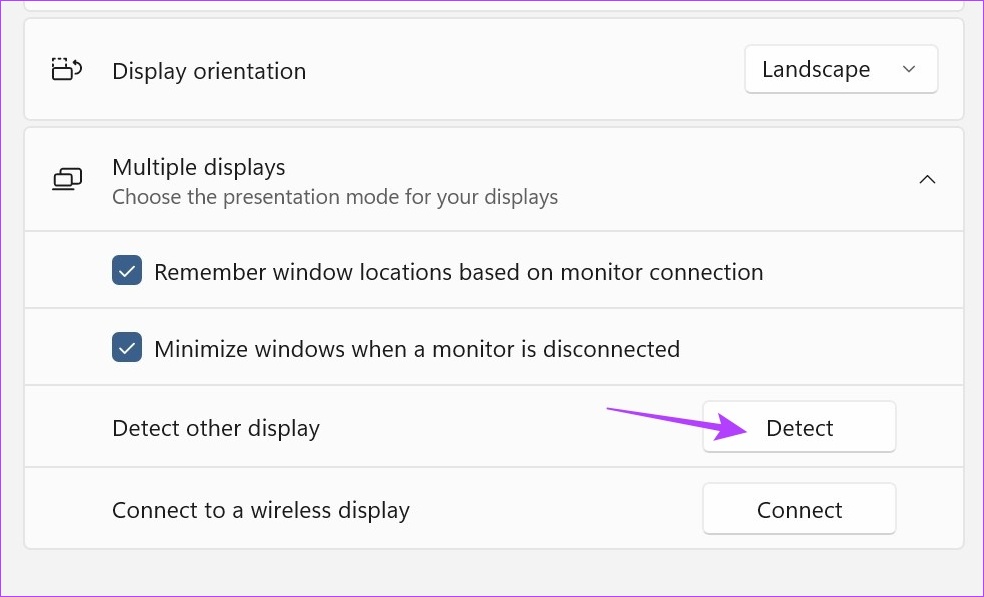
This will detect and connect the two laptop screens.
Then, follow the above steps to configure how the extra monitor will work.
Step 2:Then, from the menu options, tap on Apps.
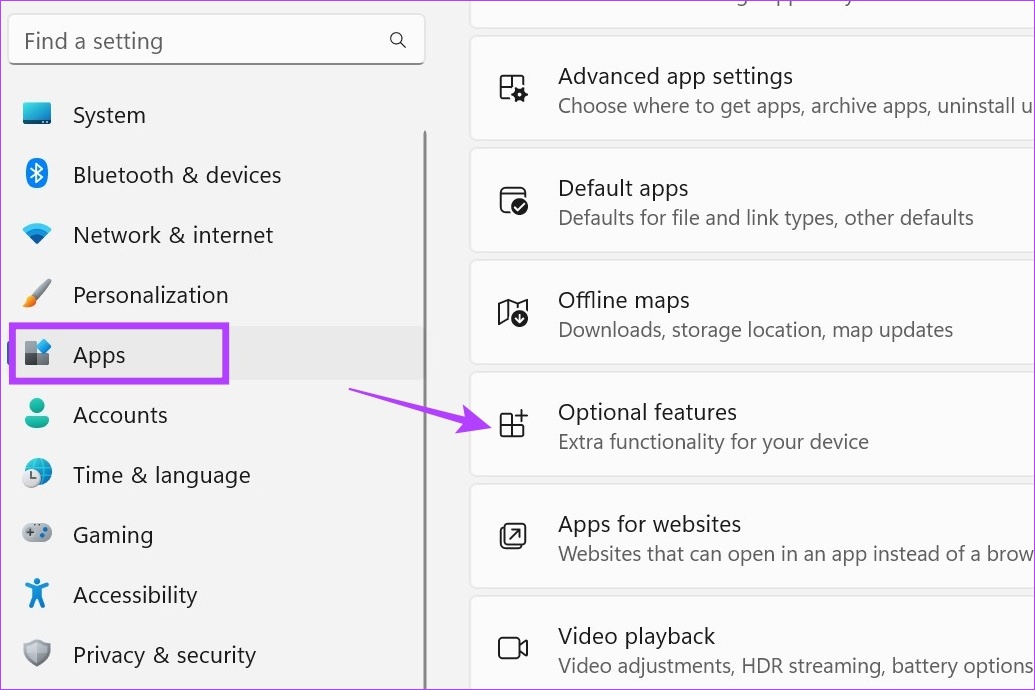
Step 3:Scroll down and select Optional features.
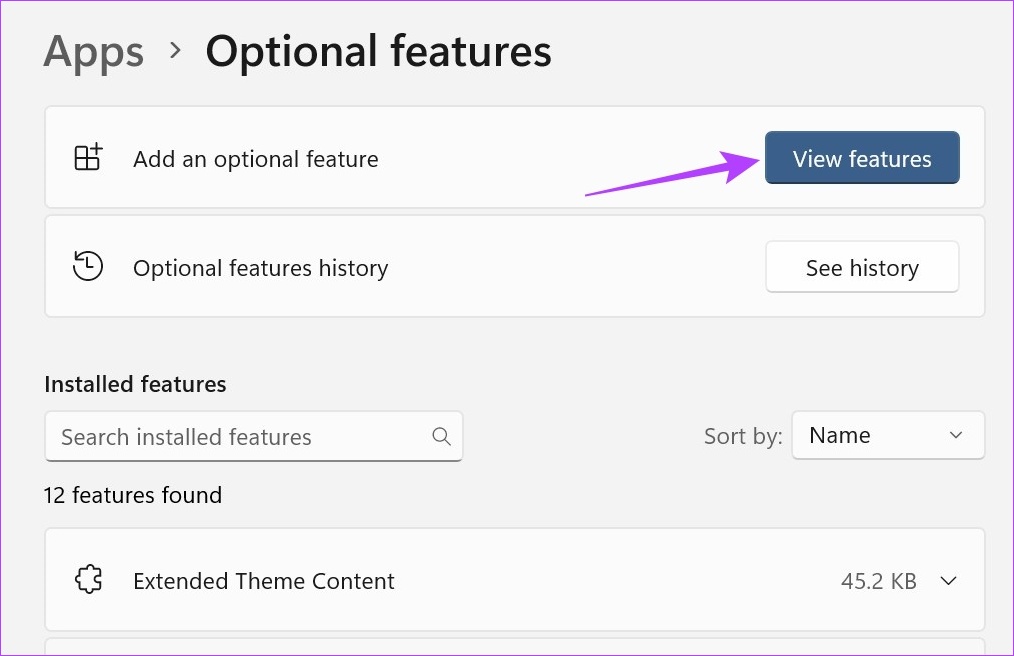
Step 4:Here, tap on View features.
This will open a separate window.
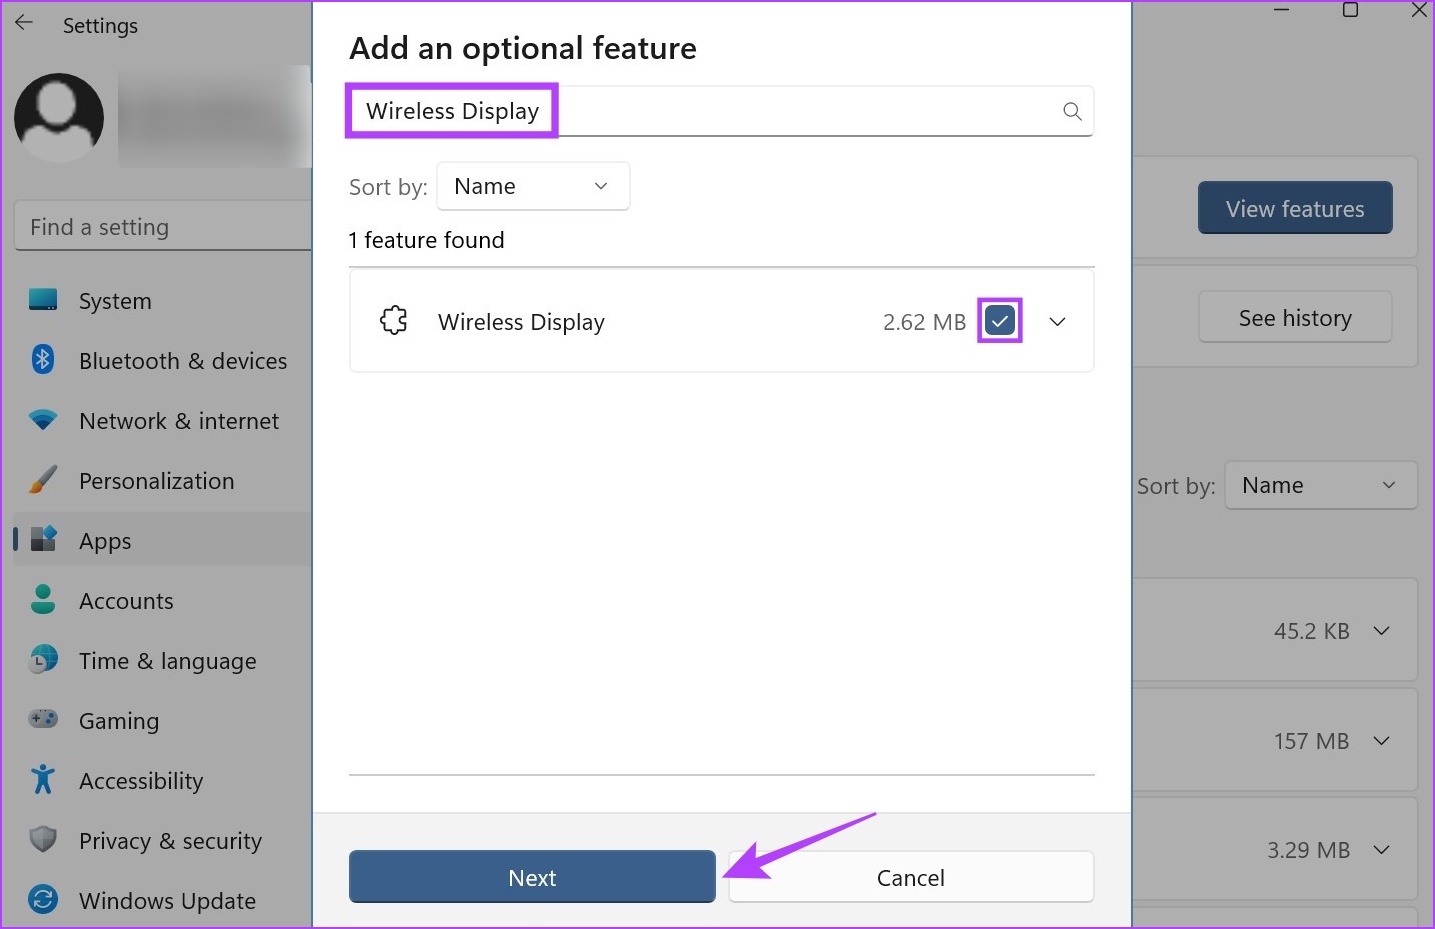
Step 5:In the search bar, typeWireless Display.
Once the option appears, nudge the box in front of it.
Step 6:Then, select Next.
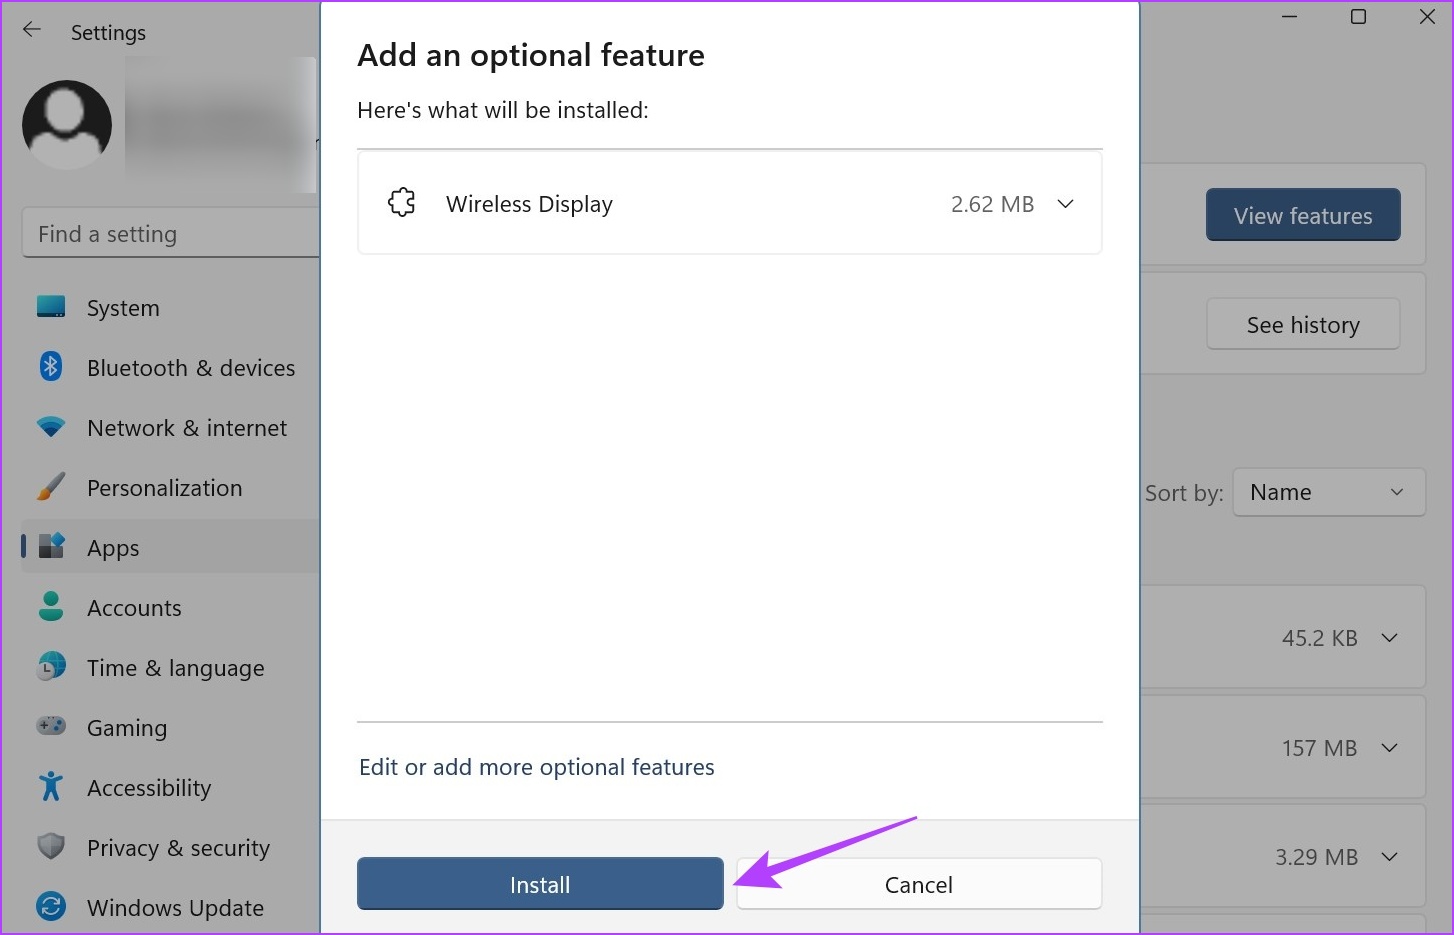
Step 7:Here, tap on Install.
Now, wait for the feature to finish installing.
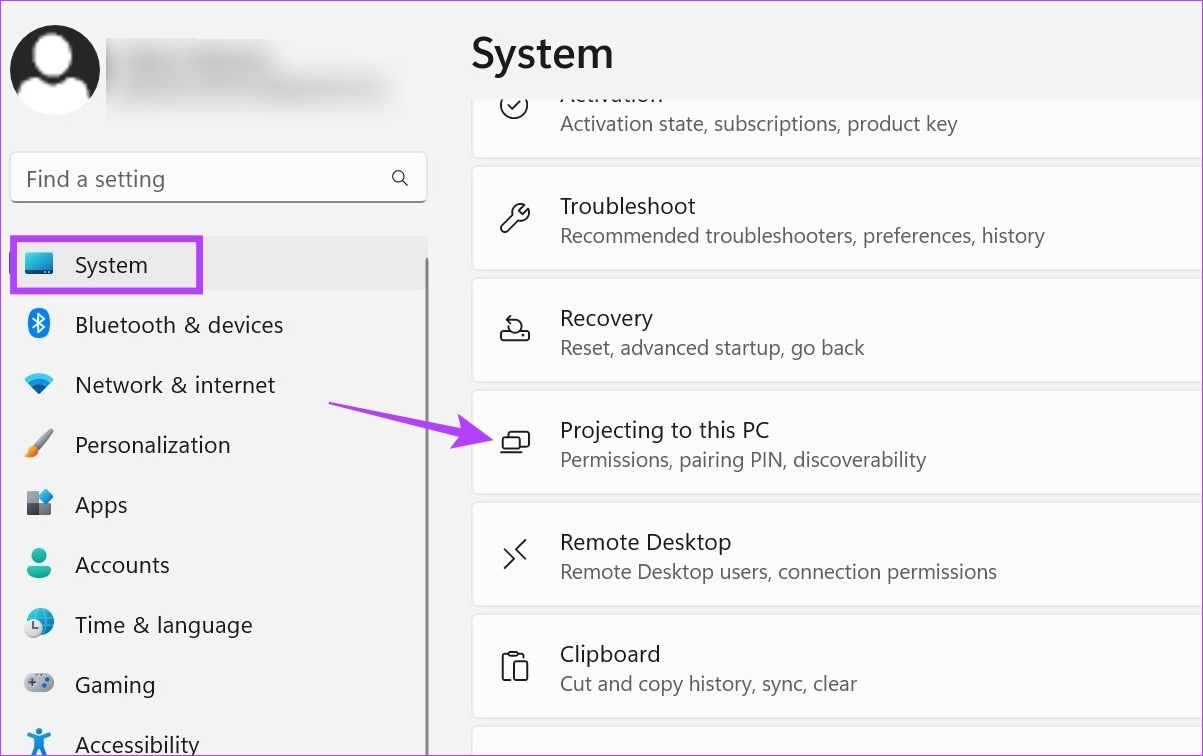
Step 8:Then, hit System from the menu icons.
Step 9:Scroll down and you will find the Projecting to this PC now available.
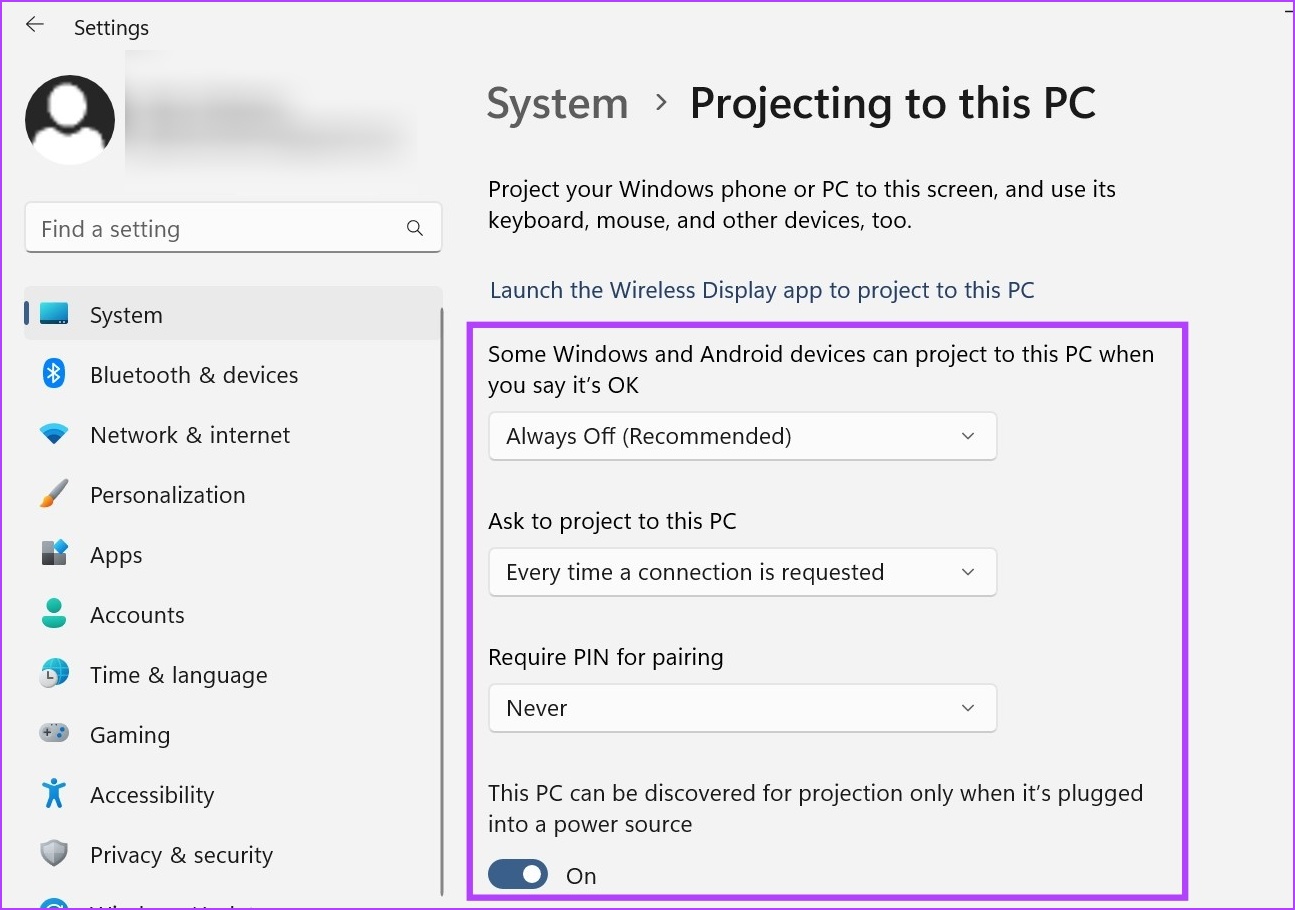
Step 10:Here, adjust the parameters as per your requirements.
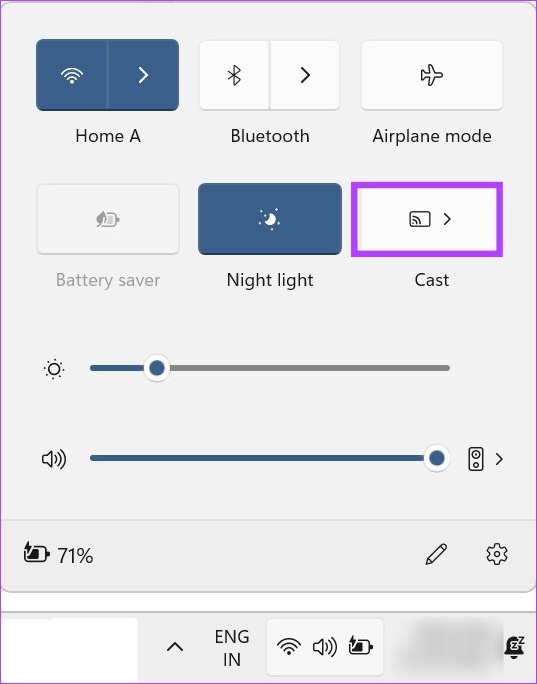
Step 1:Use the Windows key + A shortcut to kick off the Quick parameters panel.
Step 2:Here, tap on Cast.
This will open a list of available displays.
From this list, grab the display you want to cast to.
This will enable you to cast your screen onto the second screen, that too without using Miracast.
Heres how to access it.
Step 1:Use the Windows key + P shortcut to launch the Project menu.
Step 2:Then, select how you want the screen to be cast.
This will allow you to use your laptop as the secondary monitor.
Yes, you might disconnect your laptop display from the connected gadget.

If youre connected wirelessly, simply punch Disconnect to turn off sharing.
If youre using an HDMI cable, turn off the display from the Project window and disconnect the cable.
Was this helpful?
The content remains unbiased and authentic and will never affect our editorial integrity.